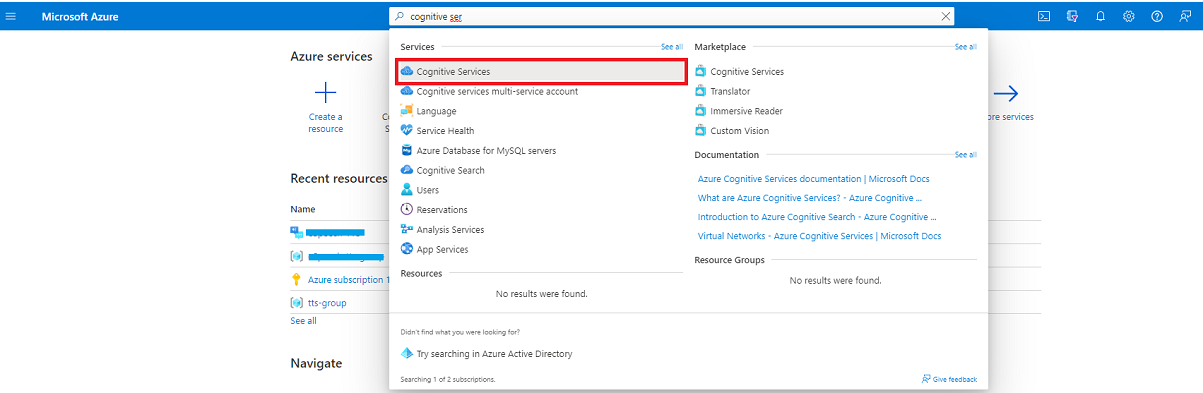
What is espeech?
espeech neural text-to-speech uses deep standard and
neural networks to make the voices
of computers
nearly indistinguishable from recordings of people.
With the human-like natural prosody
and clear articulation of words, neural
text-to-speech has significantly reduced
listening fatigue when you interact with AI systems.
The patterns of stress and intonation in spoken
language are called prosody. Traditional
text-to-speech systems break down prosody into
separate linguistic analysis and acoustic
prediction steps that are governed by independent
models. That can result in muffled,
buzzy voice synthesis. Microsoft neural
text-to-speech capability does prosody
prediction and voice synthesis simultaneously, uses
deep neural networks to overcome the
limits of traditional text-to-speech systems in
matching the patterns of stress and
intonation in spoken language, and synthesizes the
units of speech into a computer
voice. The result is a more fluid and
natural-sounding voice.
In this overview, you learn about the benefits and
capabilities of the text-to-speech
service, which enables your applications, tools, or
devices to convert text into
human-like synthesized speech. Use human-like neural
voices, or create a custom voice
unique to your product or brand. For a full list of
supported voices, languages, and
locales, see supported languages.
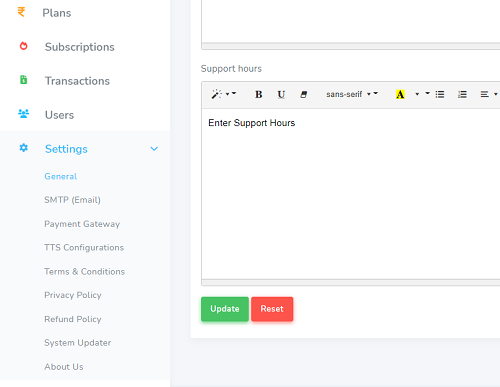
General Settings
All the General Settings like Company Title, Support
Name, Support Email, favicon, Half
Logo, Currency Symbol, TimeZone, Phone, Site Colors,
Address, Description, Copyright
Details, And Support Hours.
Just go to Settings -> General.
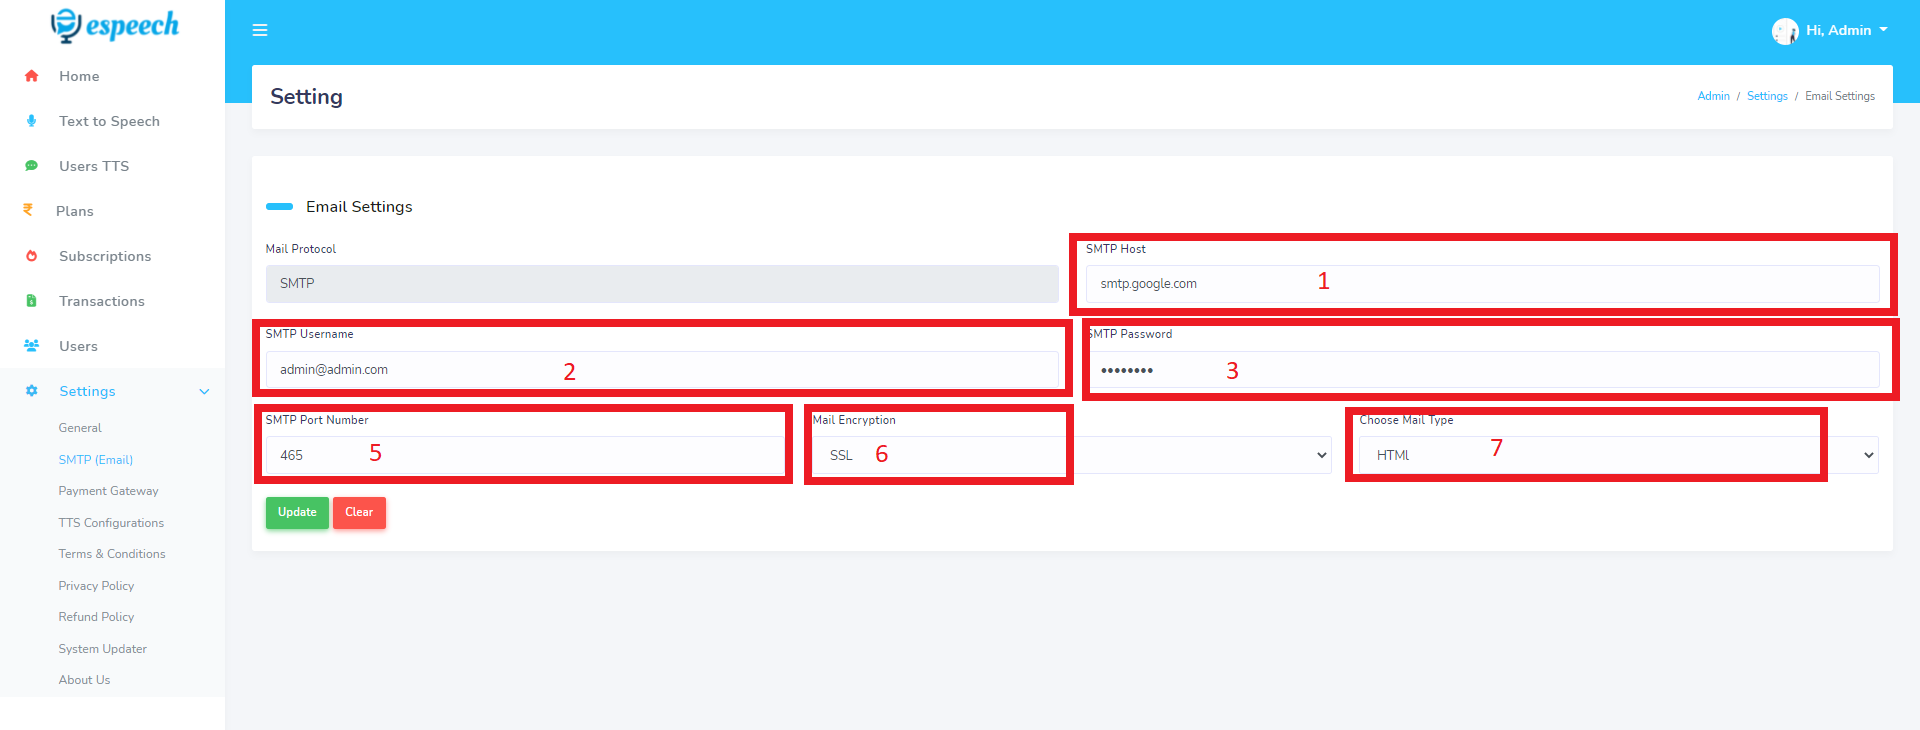
Email Settings
Configure Email settings.
Just go to Settings -> SMTP (Email).
- Type the host name.
- Type SMTP user name.
- Type SMTP Password.
- Enter SMTP Port no.
- Select SMTP Encryption Type
- Select Mail type (HTML,TEXT)
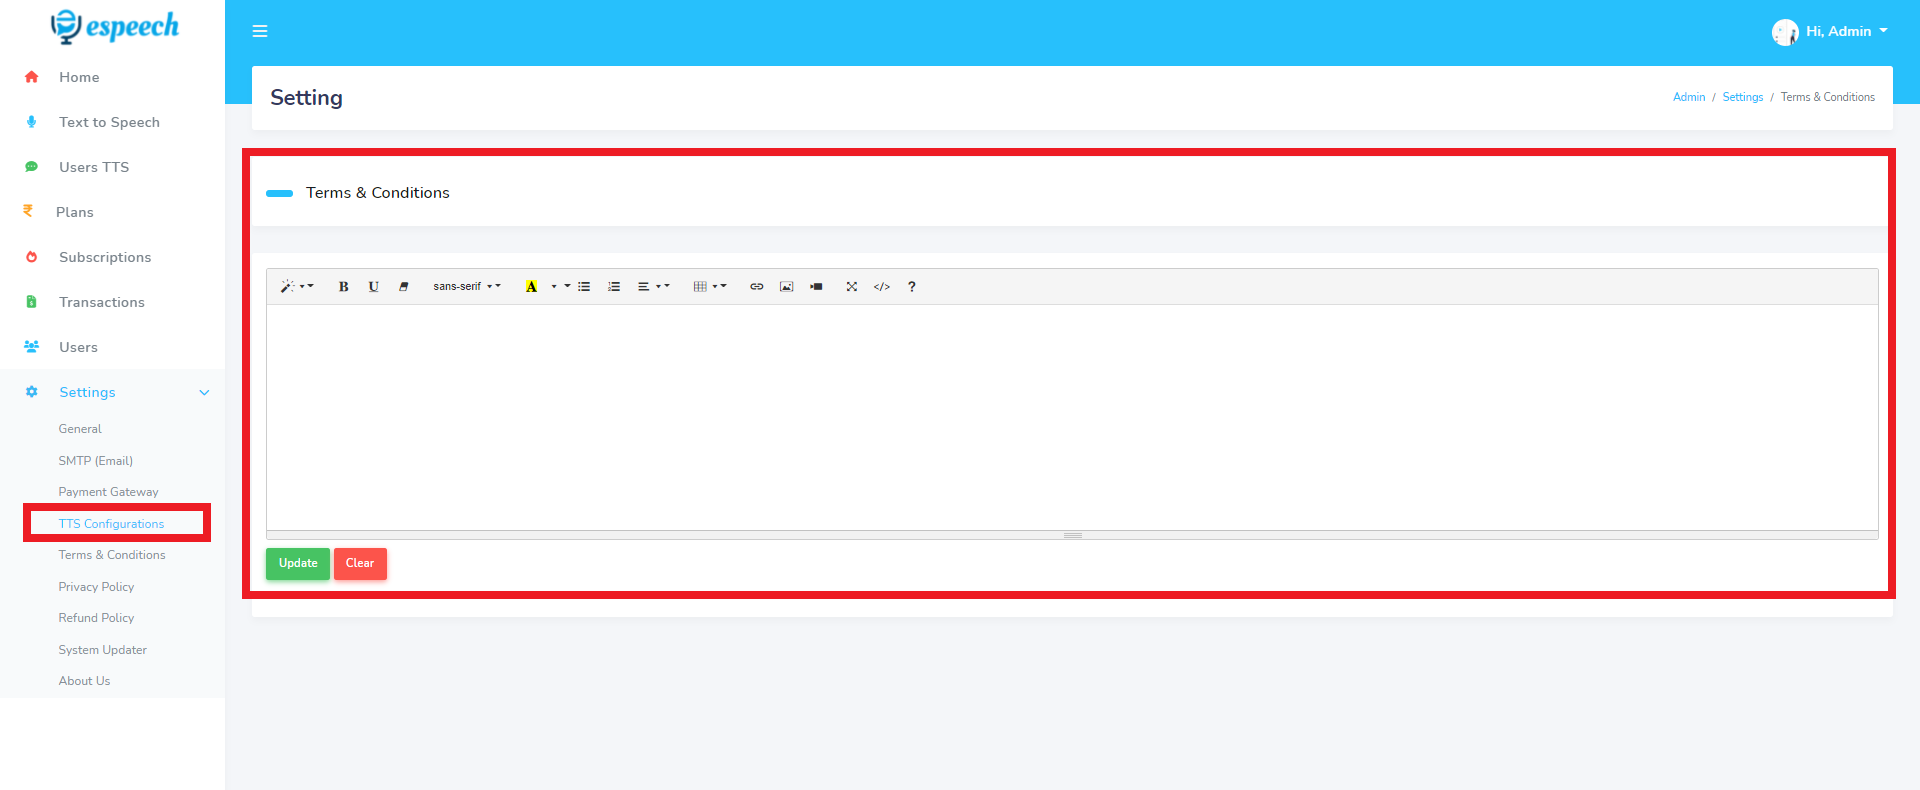
Terms And Conditions
Configure Terms And Conditions settings.
Just go to Settings -> Terms and Conditions.
- Enter all Terms and conditions under Terms and
conditions section.
Privacy Policy
Configure Privacy Policy settings.
Just go to Settings -> Privacy Policy.
- Enter all Privacy Policy under Privacy Policy
section.
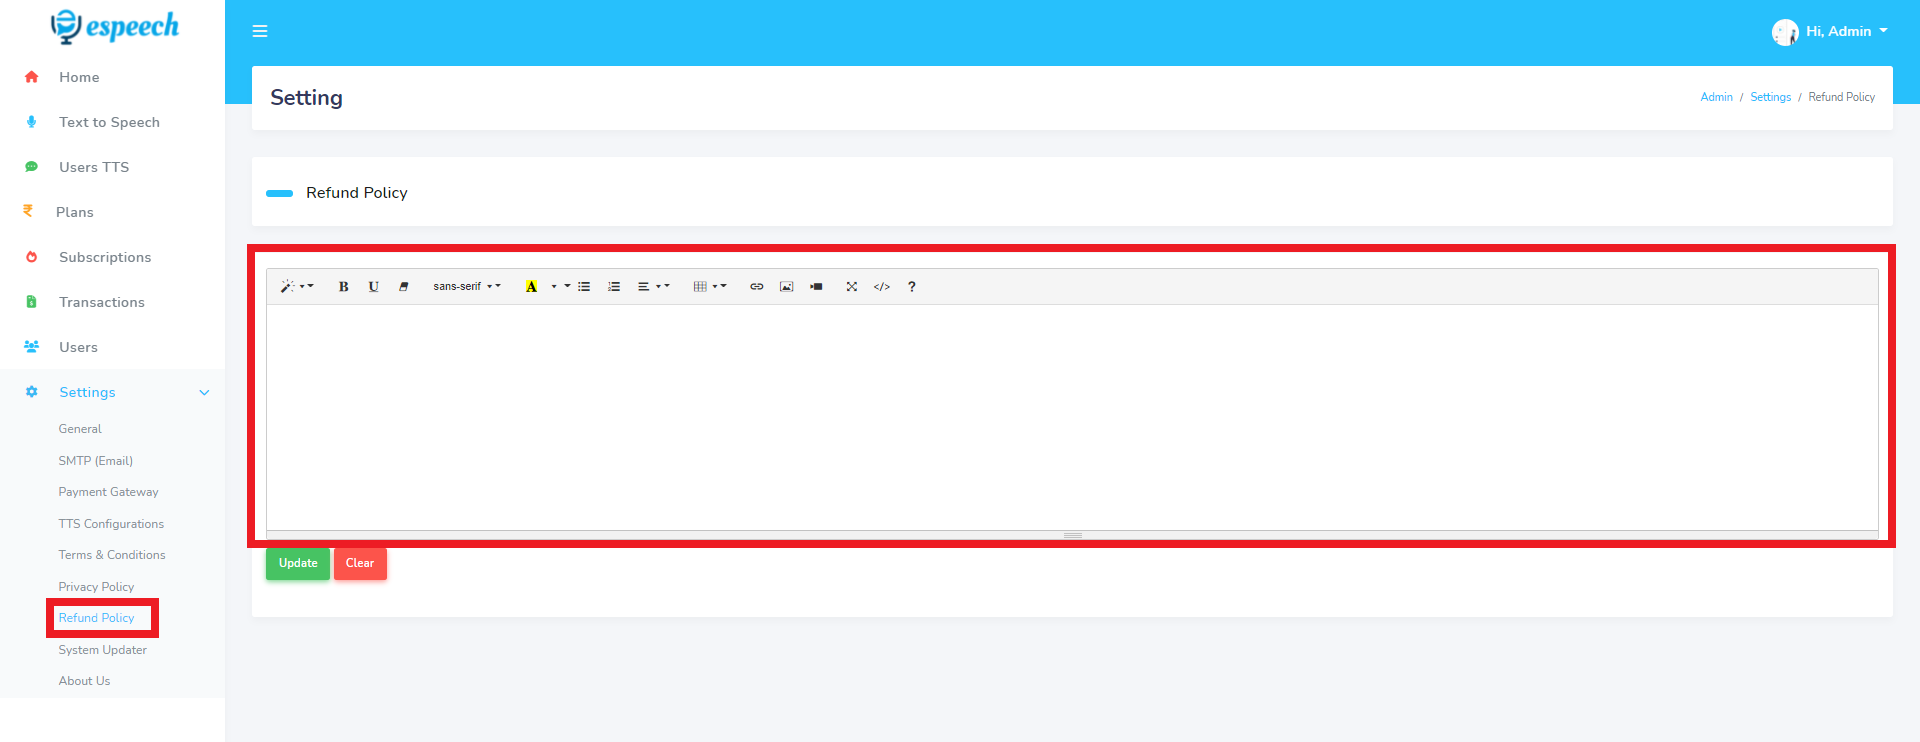
Refund Policy
Configure Refund Policy settings.
Just go to Settings -> Refund Policy.
- Enter all Refund Policy under Refund Policy
section.
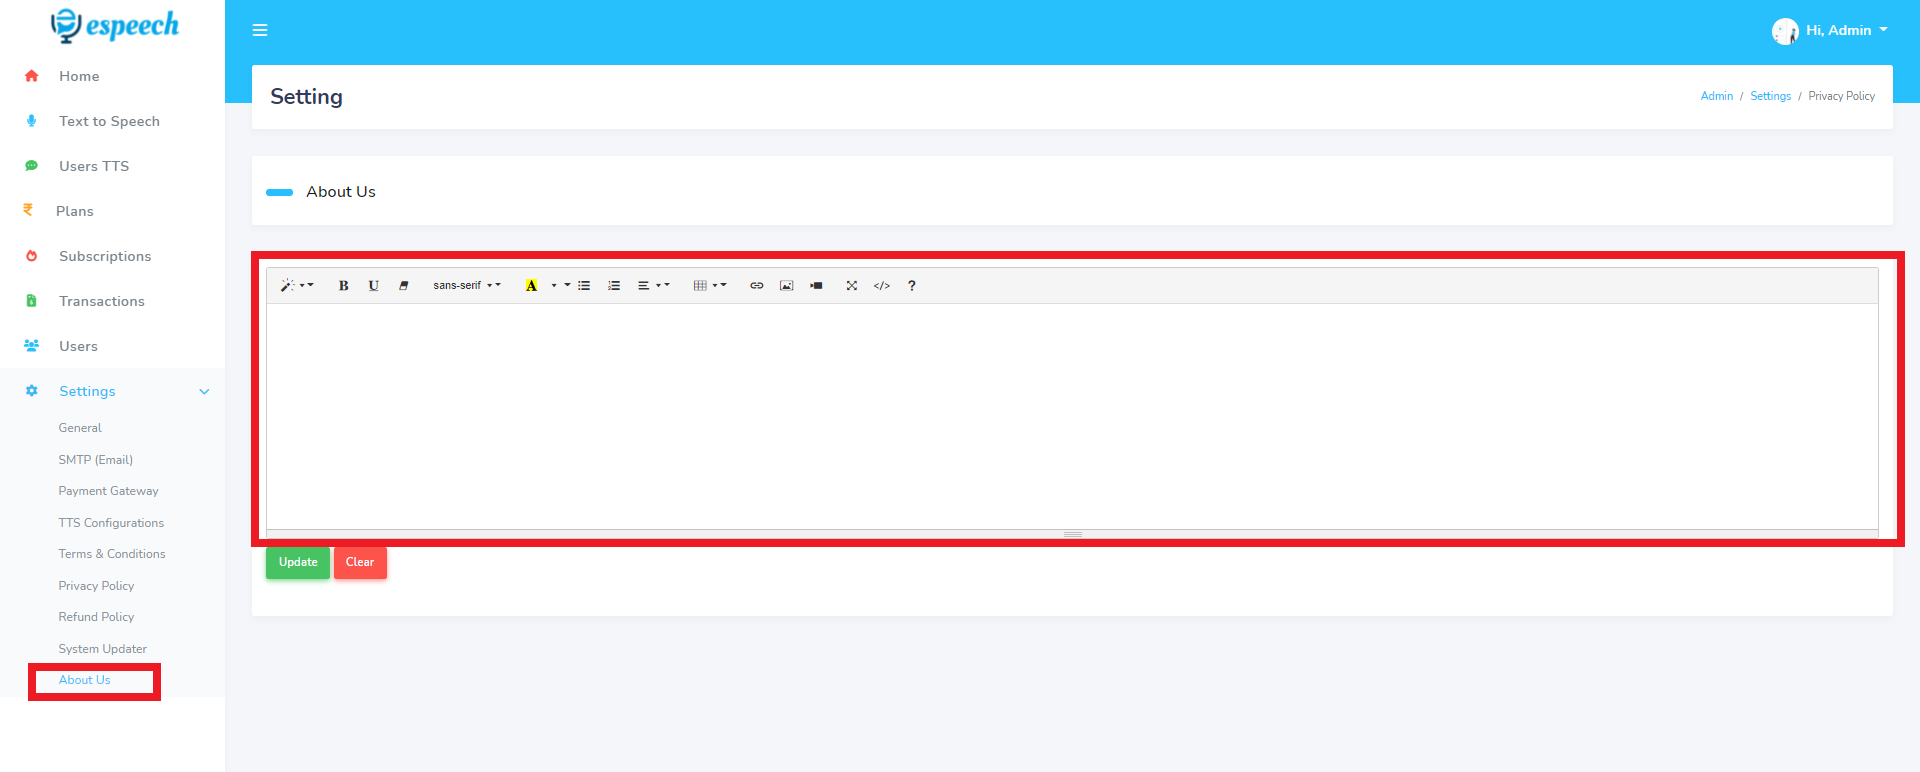
About us
Configure About us settings.
Just go to Settings -> About us.
- Enter all About us under About us section.
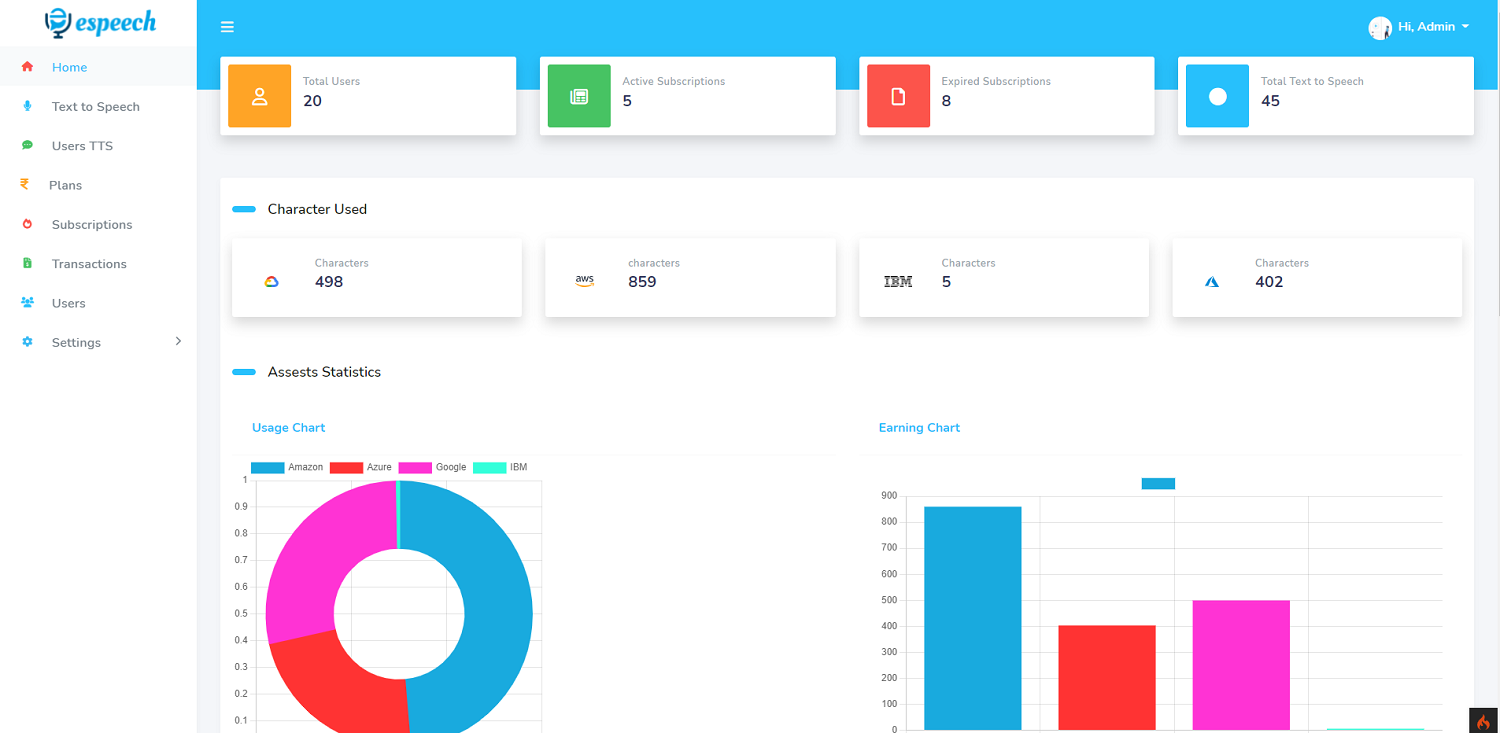
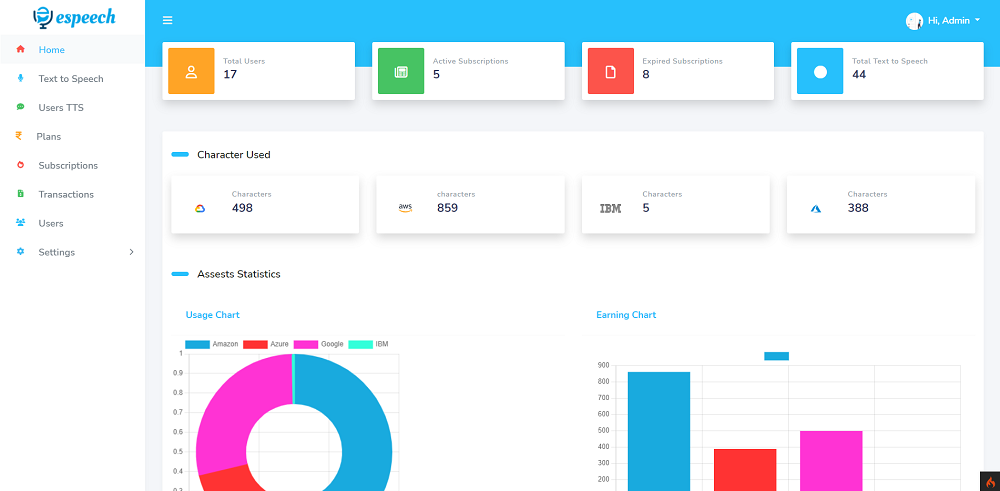
Home
- Dashboard of the app to view app insights.
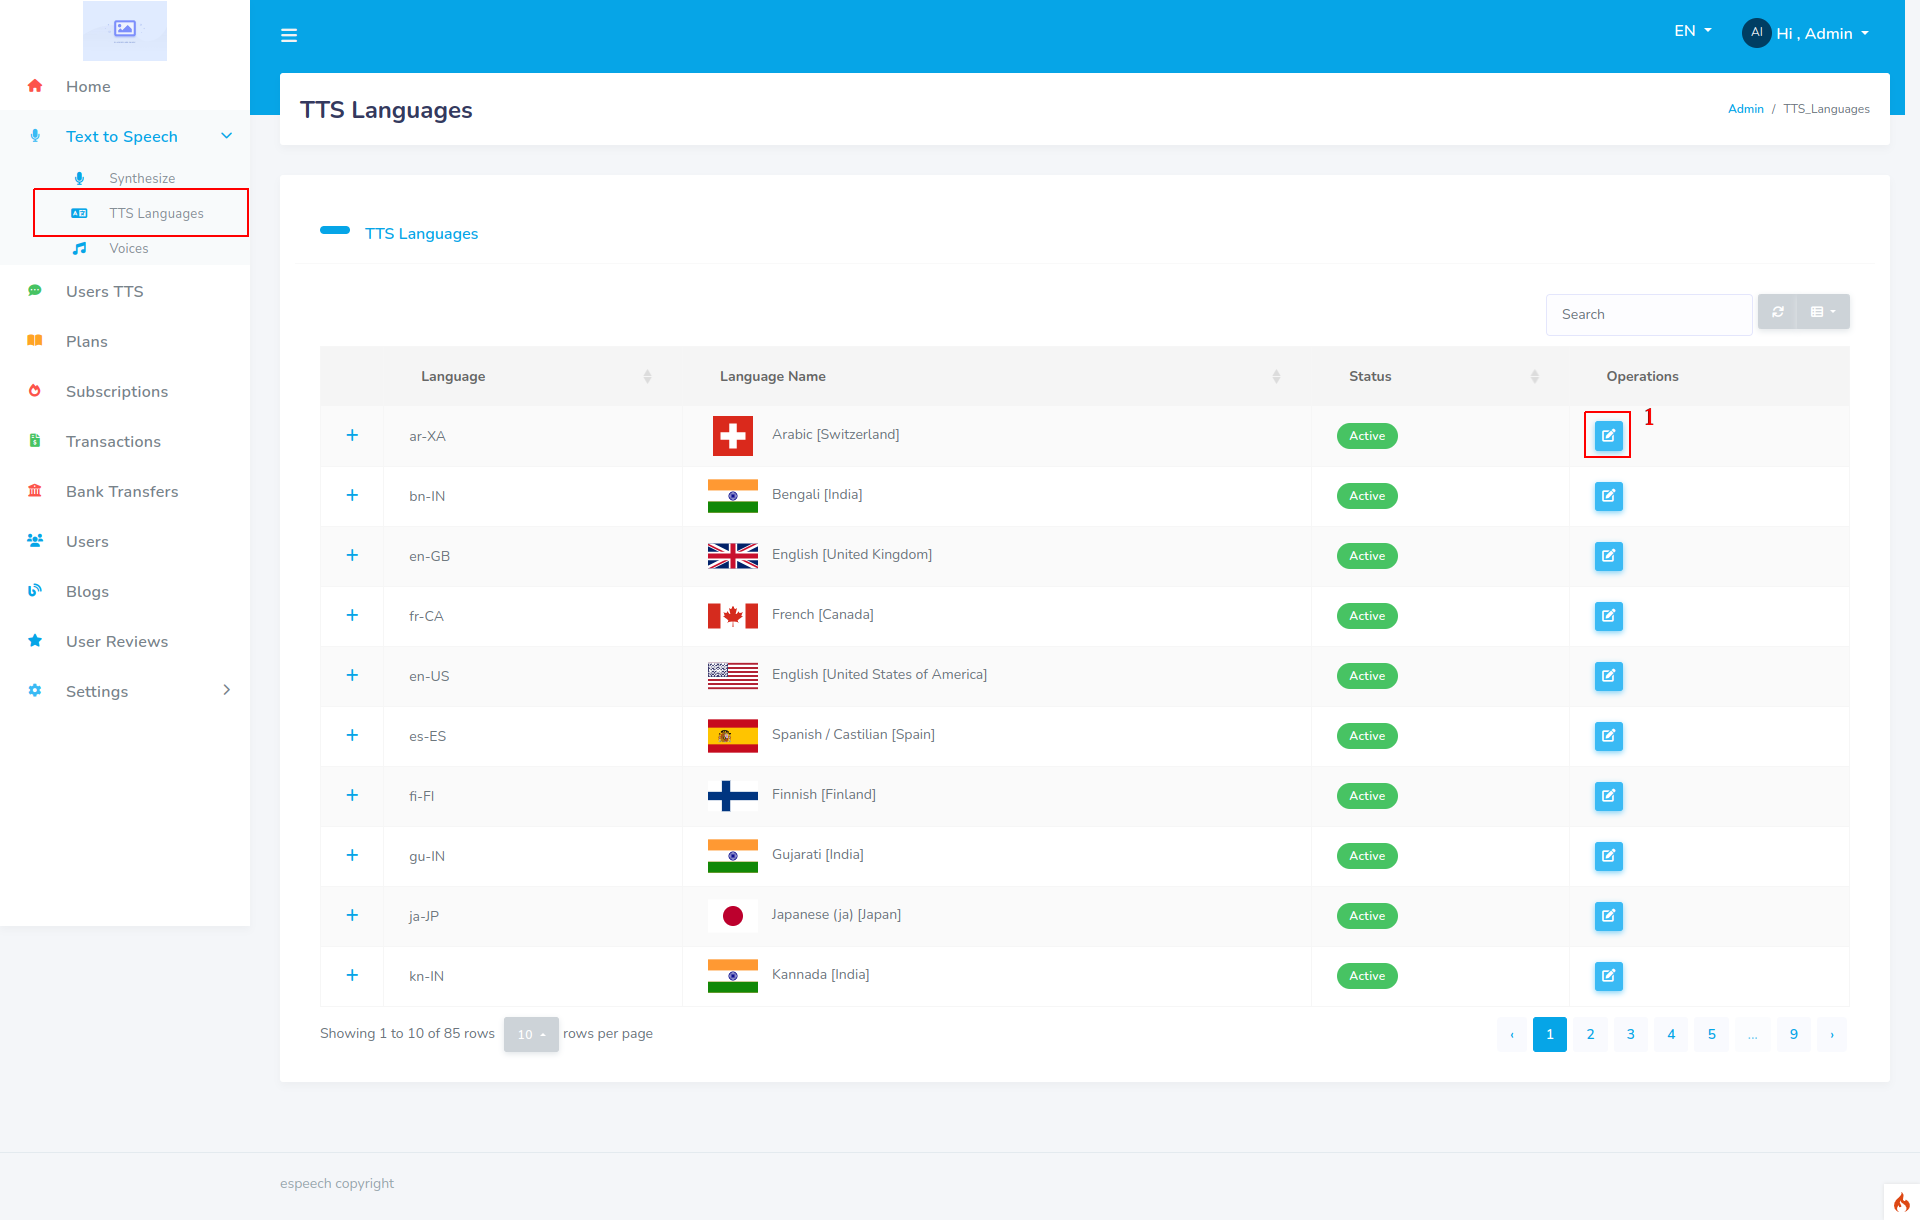
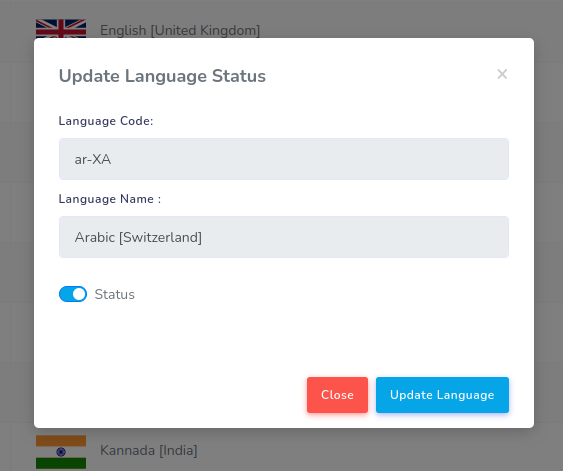
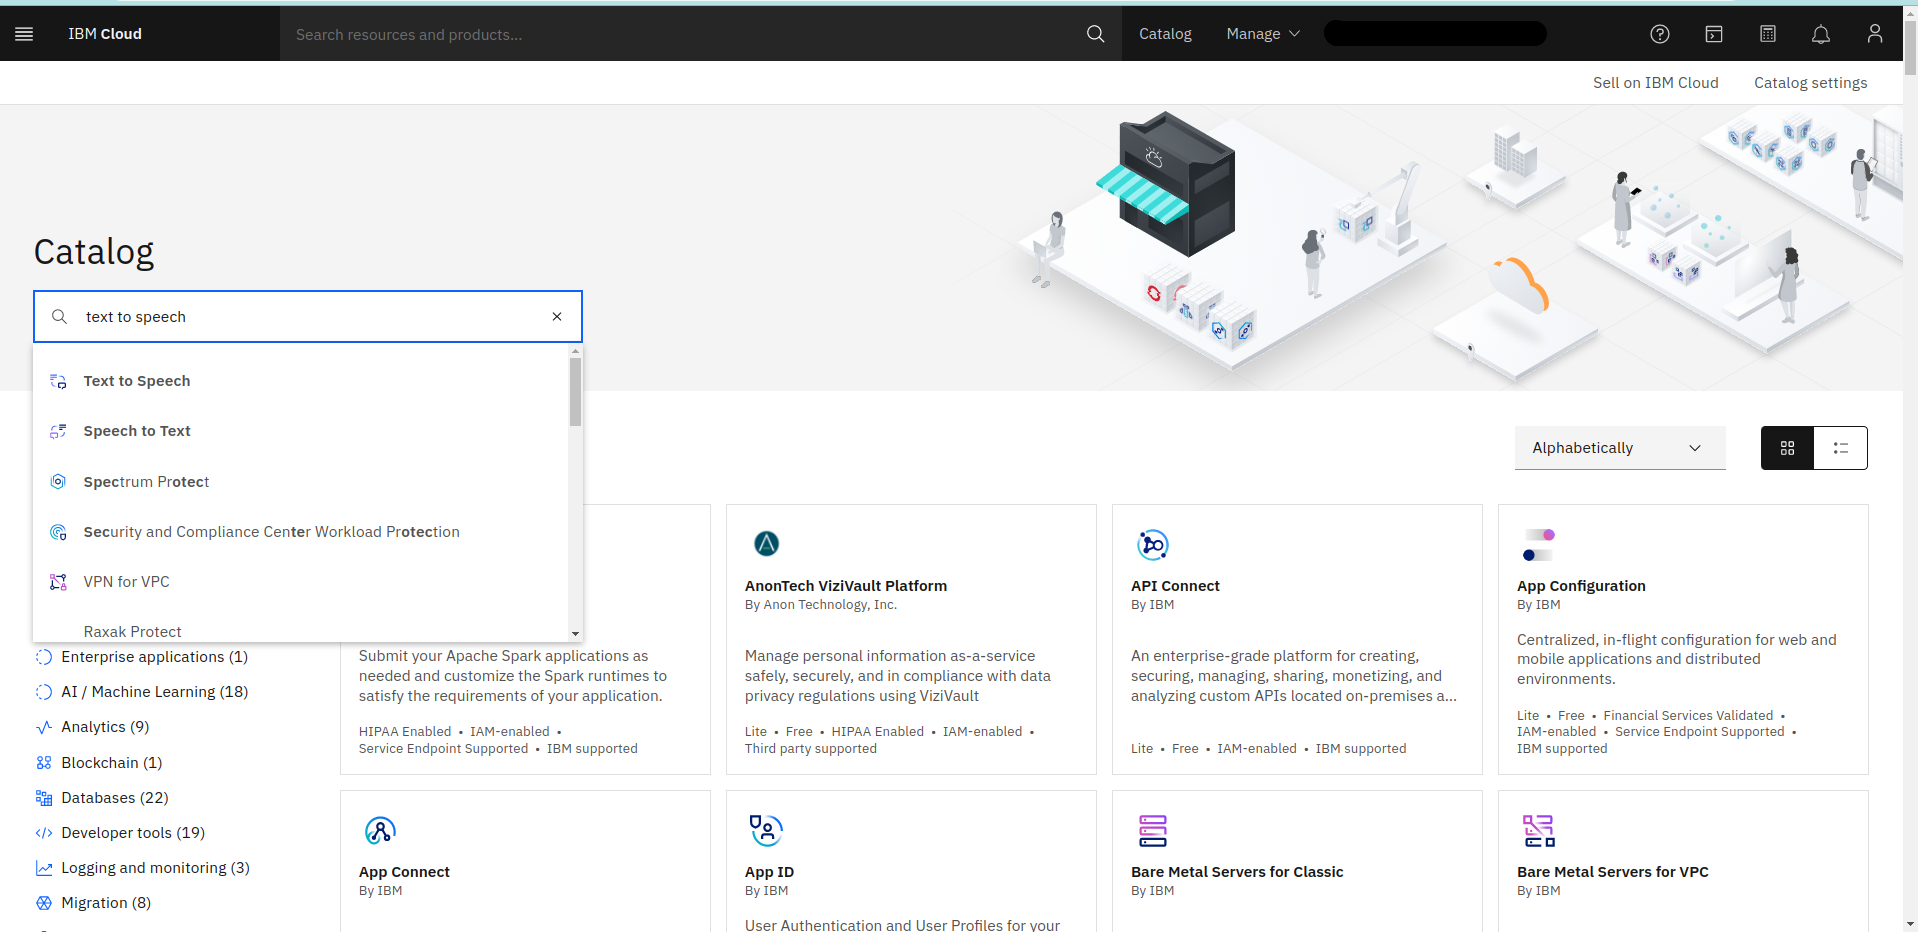
TTS Languages
Note : This is an admin feature not available in user
pannel.
- You can Customize Text to Speech Languages Here
- You can update TTS language here
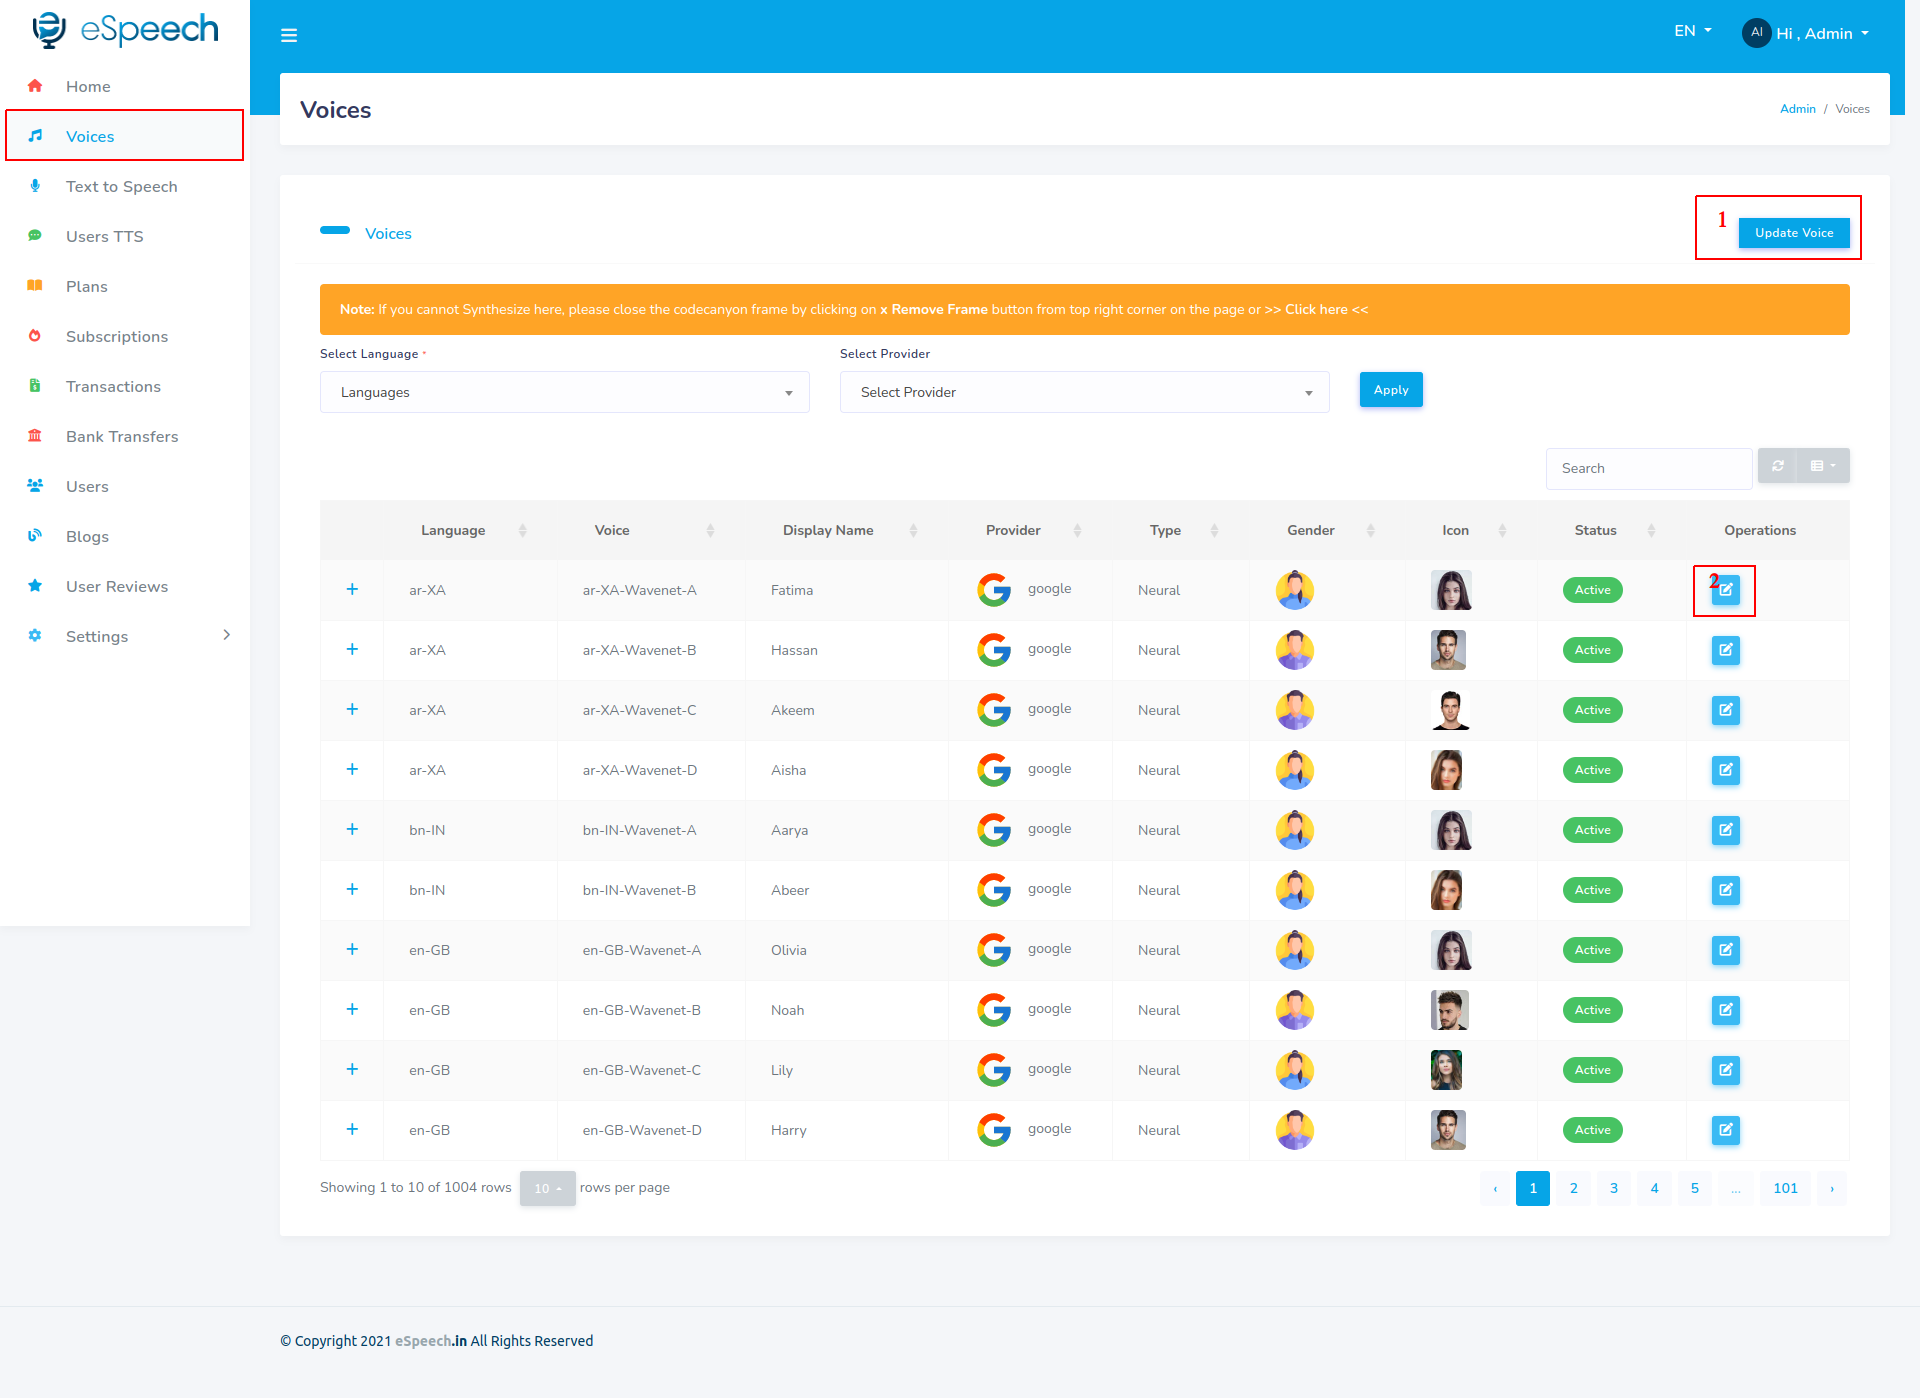
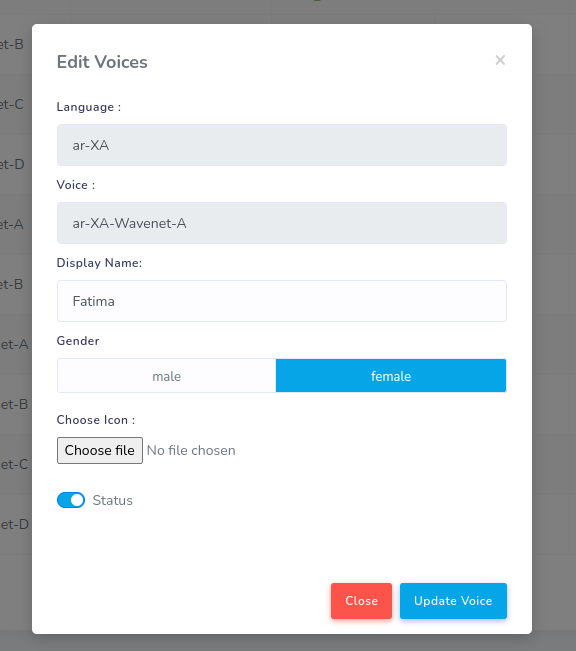
Voices
Note : This is an admin feature not available in user
pannel.
- Update Voices and add voices if no exist here
- You can Customize Voice Here
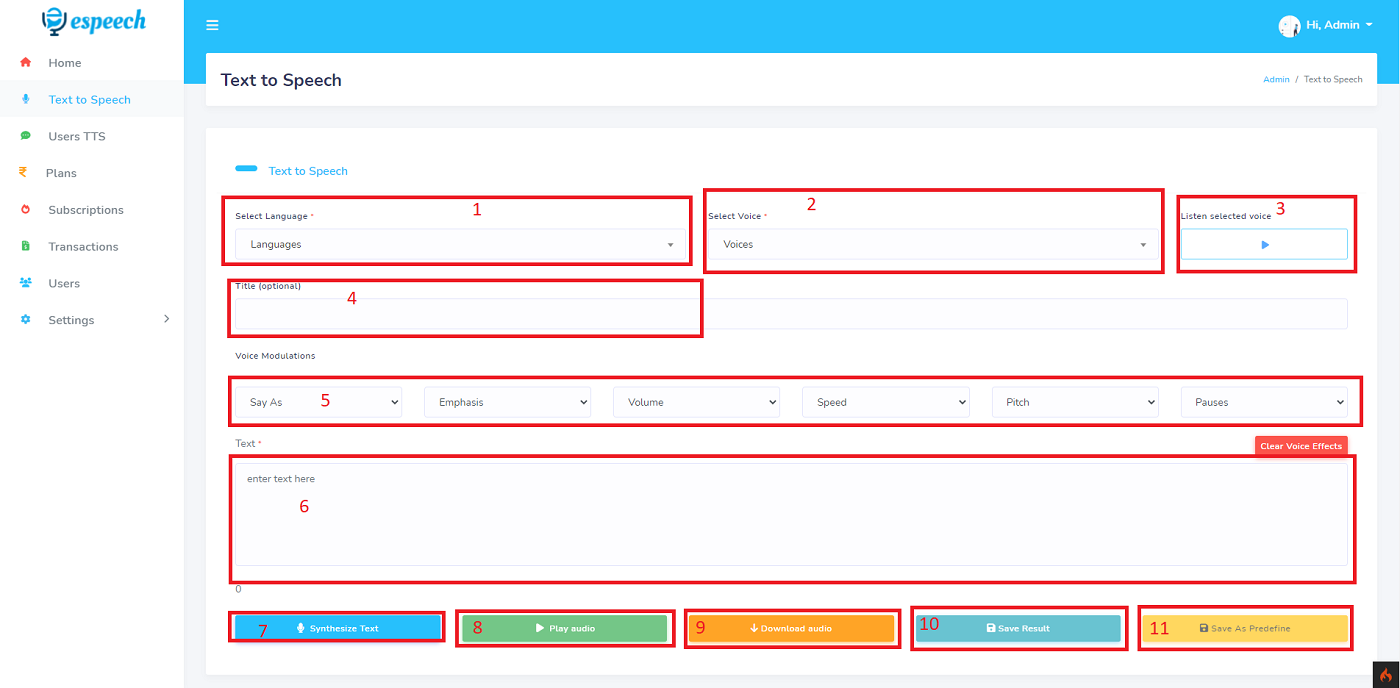
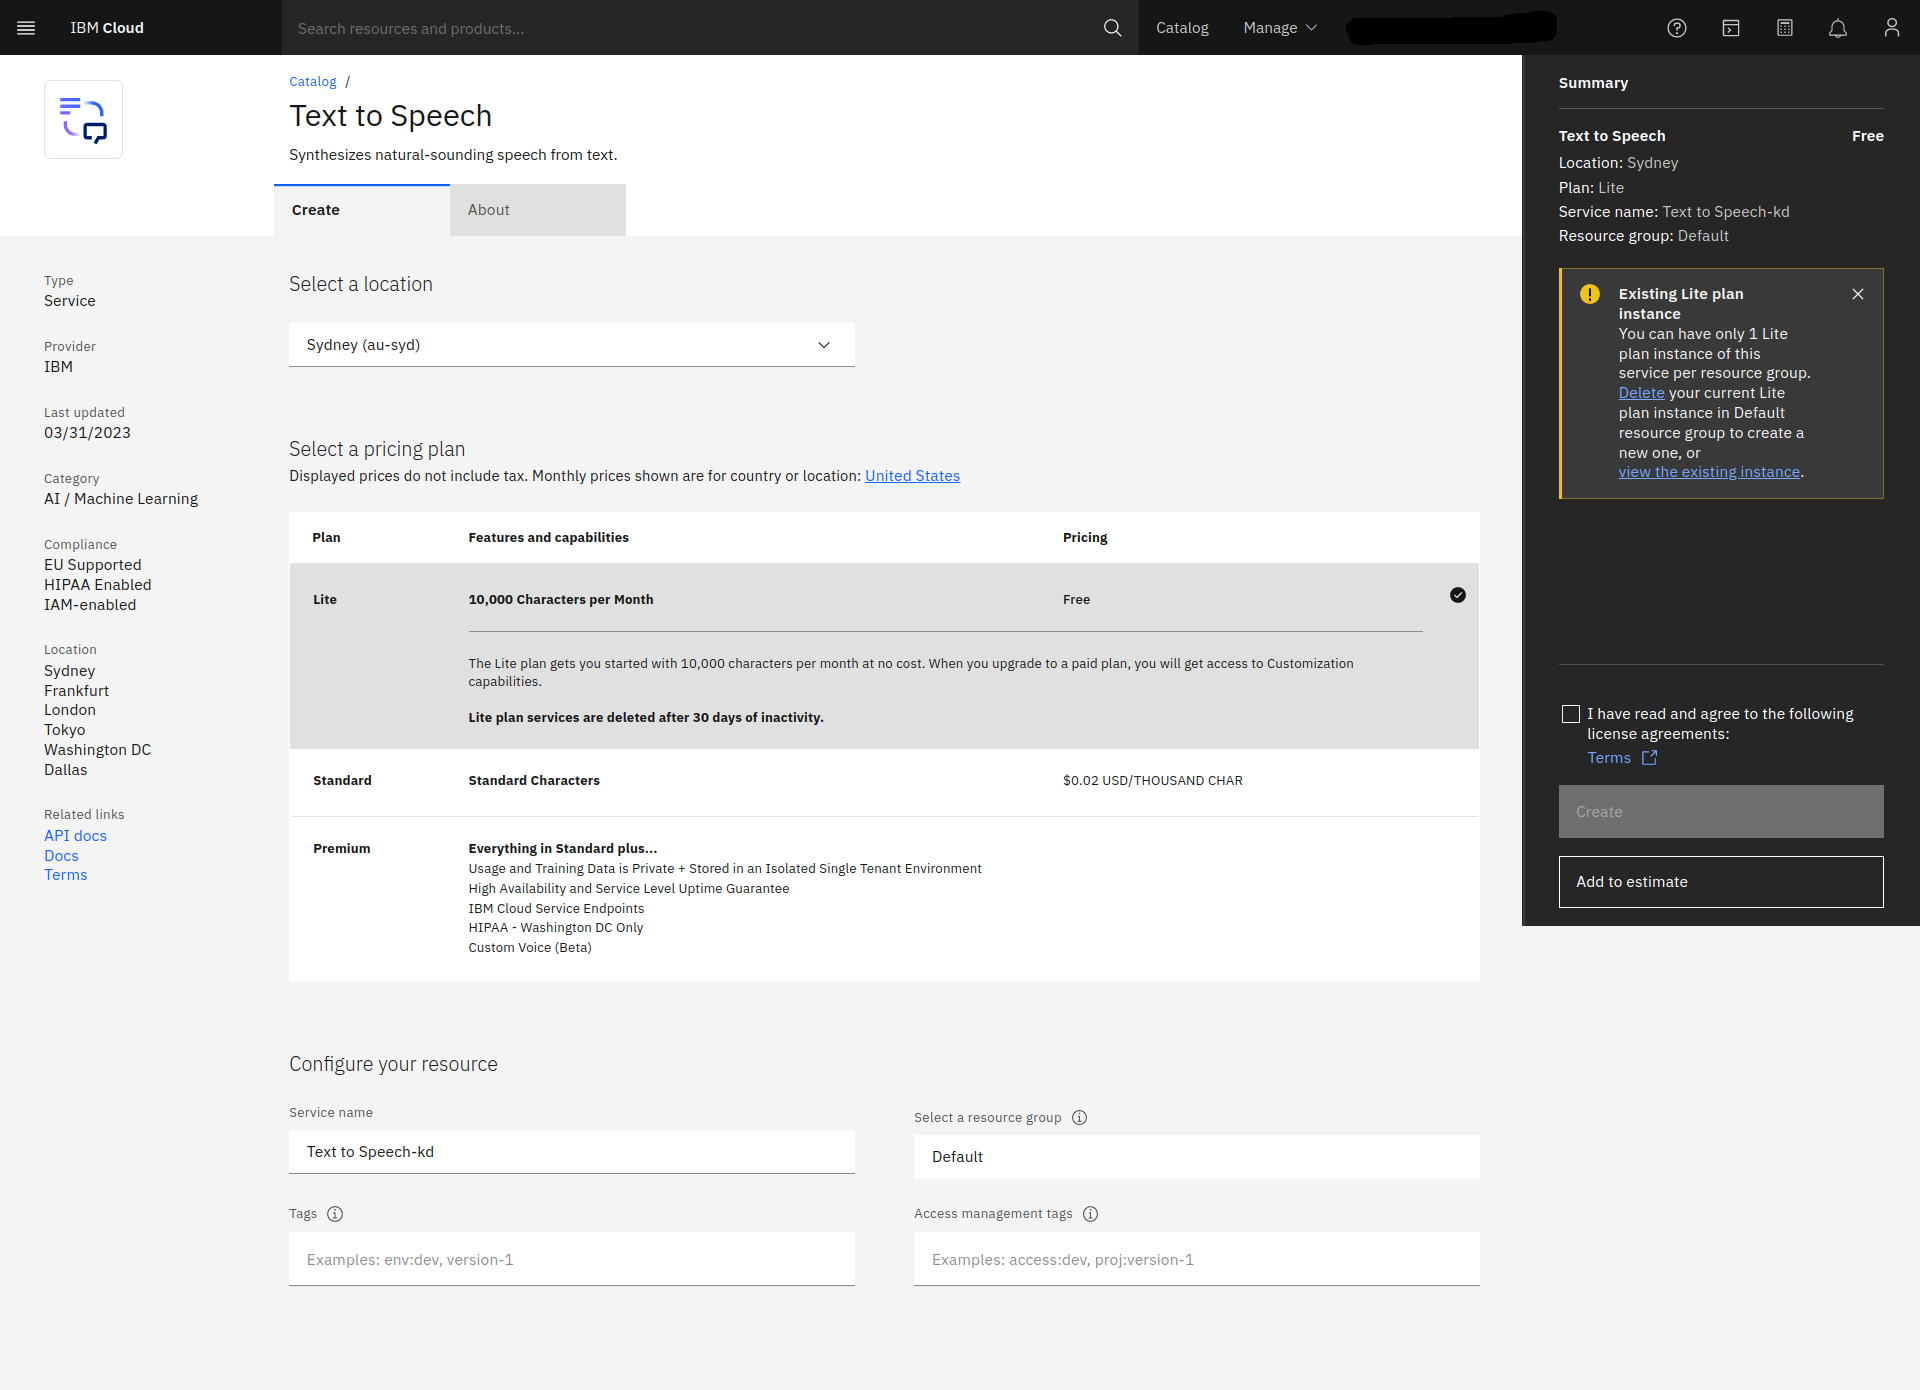
Text to Speech
- Languages: Select the language for the
written text and synthesize language.
- Voices : select your desired voice that fits
your needs.
- Listen Selected Voice : Listen the sample of
the voice you have selected before you
synthesize to save your characters.
- Title : Enter the title for your synthesis
to find the saved tts easily.
- Voice Modulation : Customize the final audio
output by putting this those options.
- Text : Enter the text to synthesize.
- Synthesize : button that synthesize the
given text.
- Play Audio : After synthesis this button
plays the synthesised text.
- Download : To Download the Synthesised Text.
- Save Result : Saves the Synthesised audio to
the server so you can hear or download
anytime.
- Save as Predefined : (option only available
to admin) saves the audio for sample voice.
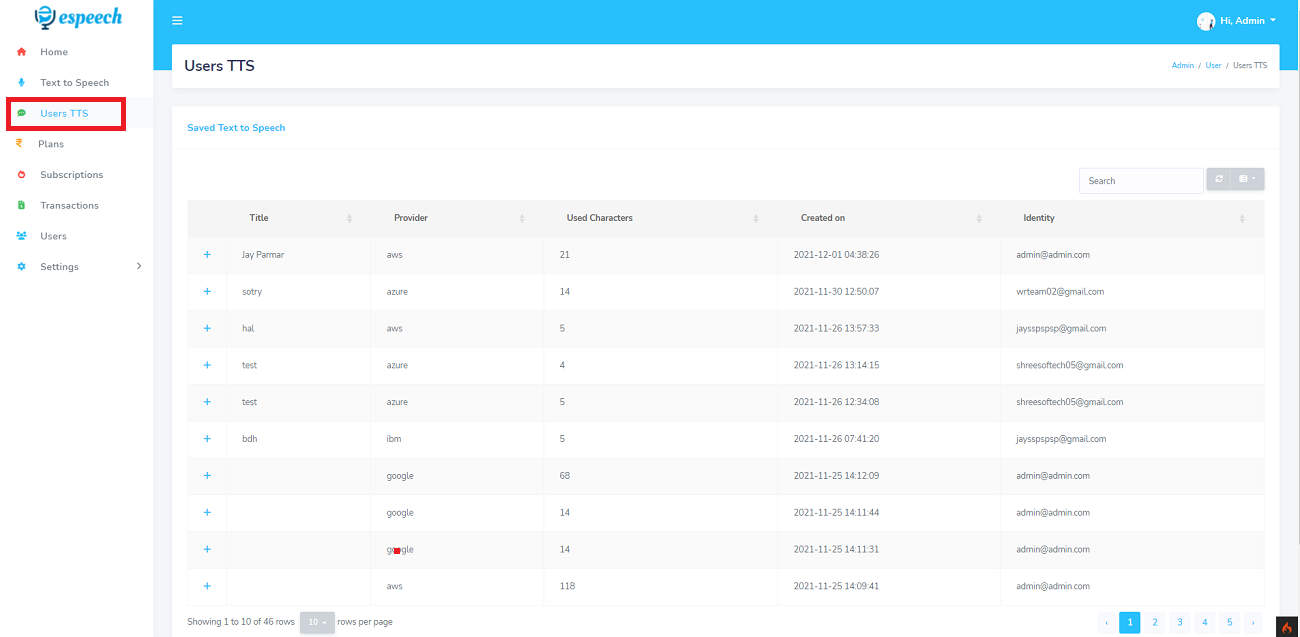
Users TTS
Note : This is an admin feature not available in user
pannel.
Users TTs tab shows all the text to speech
synthesized by all users and admin.
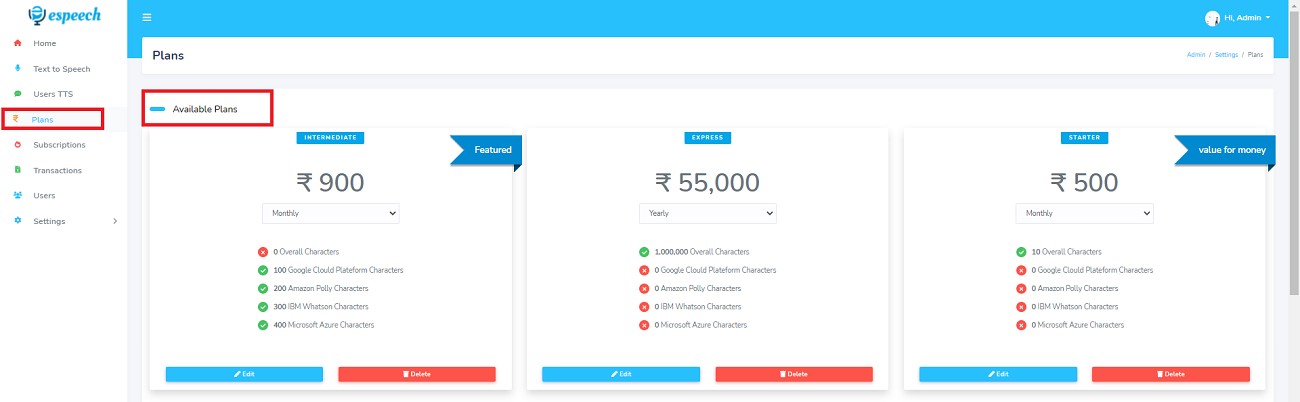
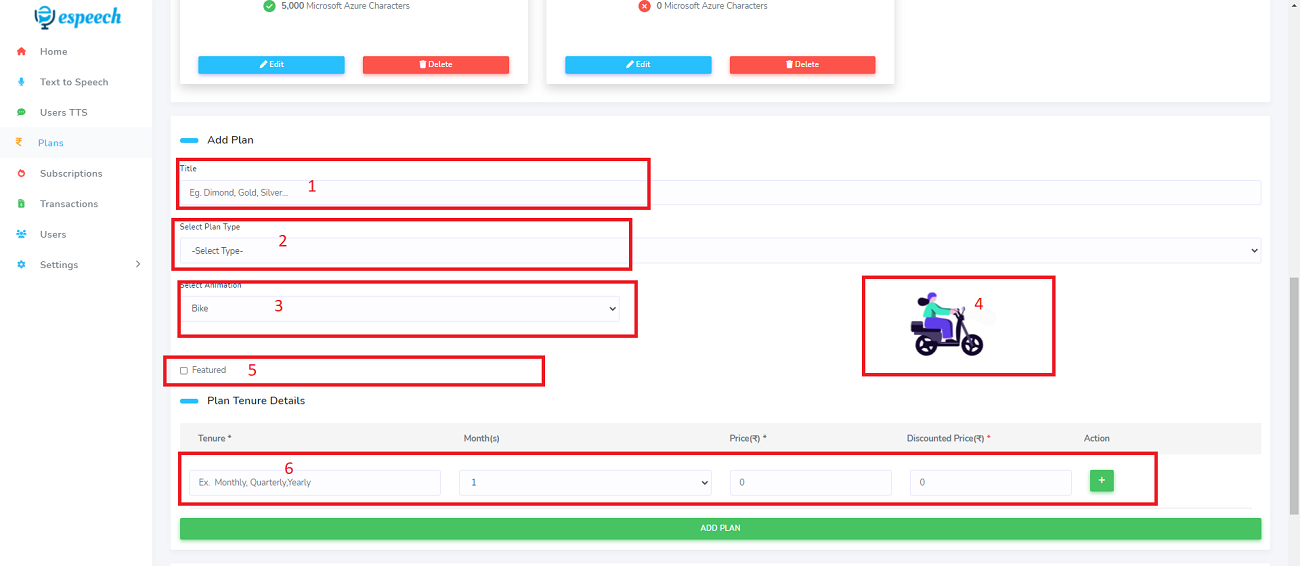
Plans
- View available plans under Available Plans
section.
- Create new plan under App Plan Section.
- Title : Name for the Plan.
- Plan type : select weather the plan is
character based or provider based.
- Select animation : choose the animation
to be displayed on frontend.
- Preview of animation.
- Featured : select is plan featured or
not.
- Create tenurefor the given plan.
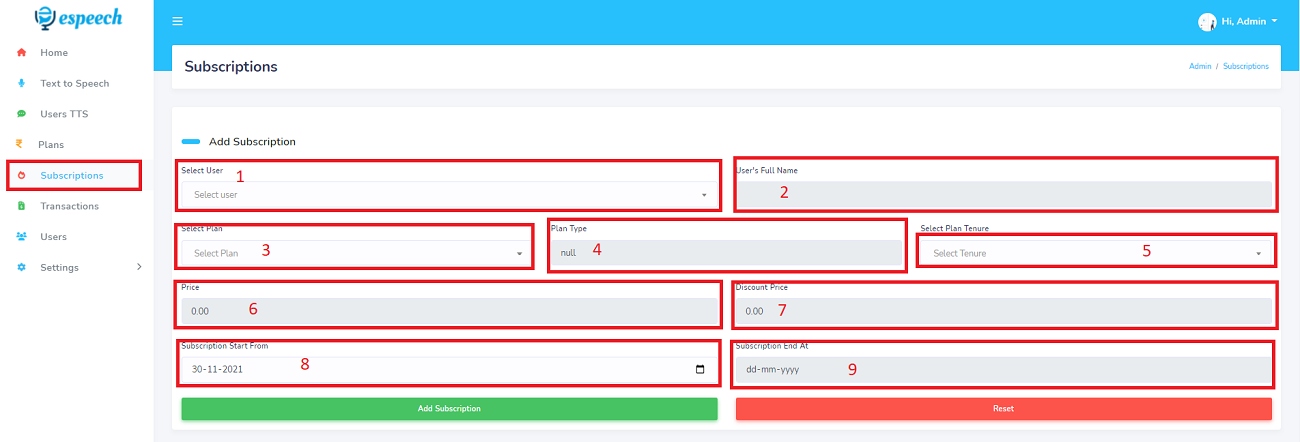
Subscriptions
- You can manually add subscription for user
under Add Subscription section.
- Select user of subscription you want to
add.
- Displays the users full name.
- select Plan from the dropdown.
- Displays the plan type ( Genaral or
Provider ).
- Select the plan tenure for the given
Plan.
- Displays the price for the given plan
and tenure.
- Displays the discounted price for the
given plan and tenure.
- Enter the date you want the subscription
to start.
- Displays the plans Expiry date.
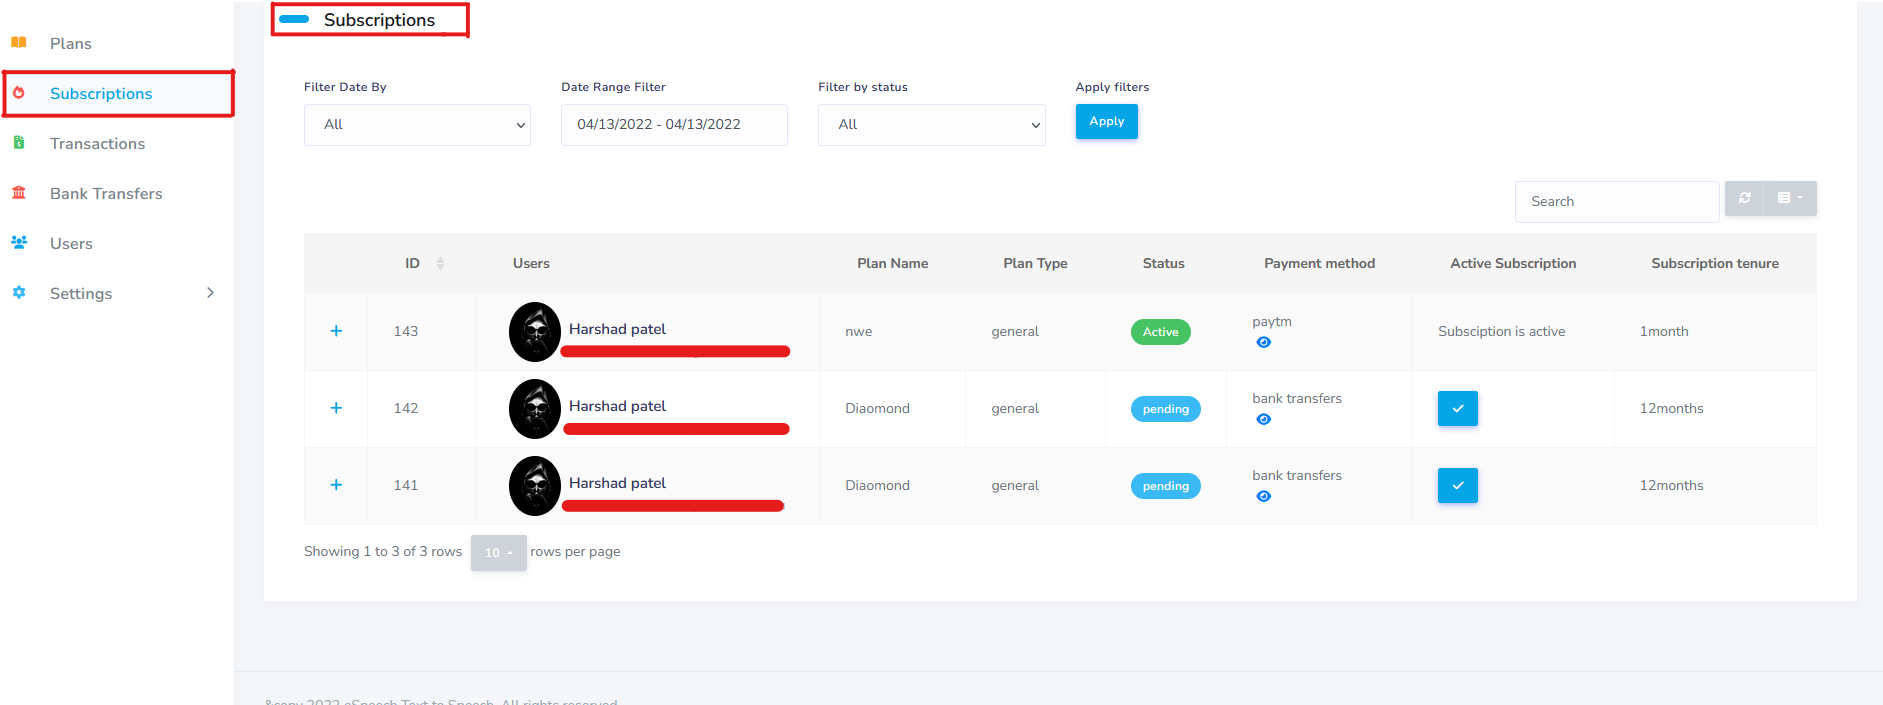
- View all subscriptions in Subscriptions
table.
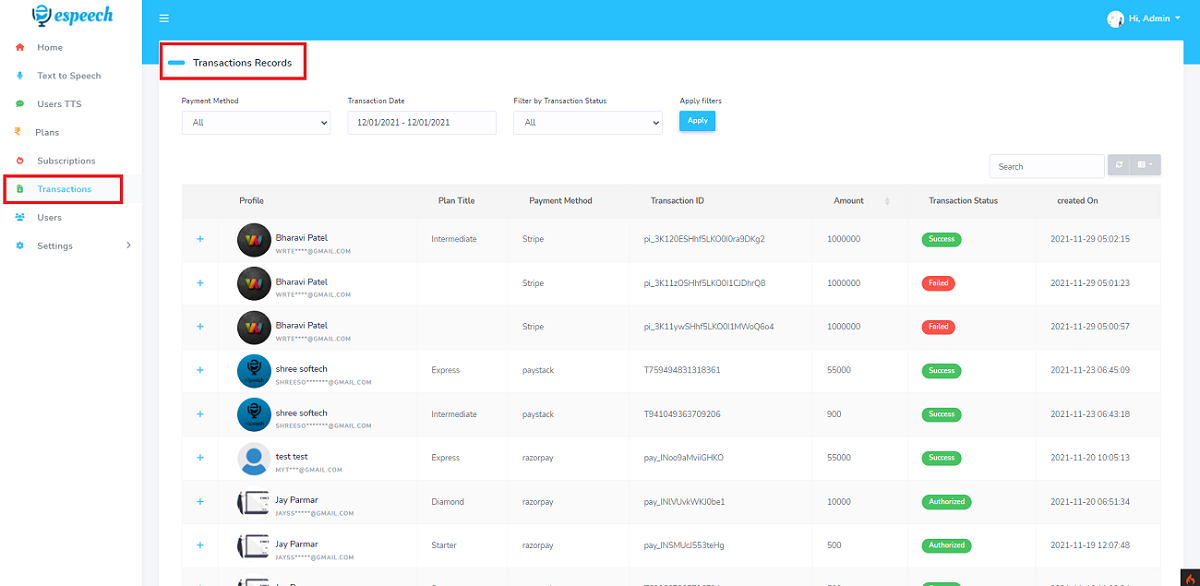
Transactions
- See all the transactions done by users under
Transaction Records Sections.
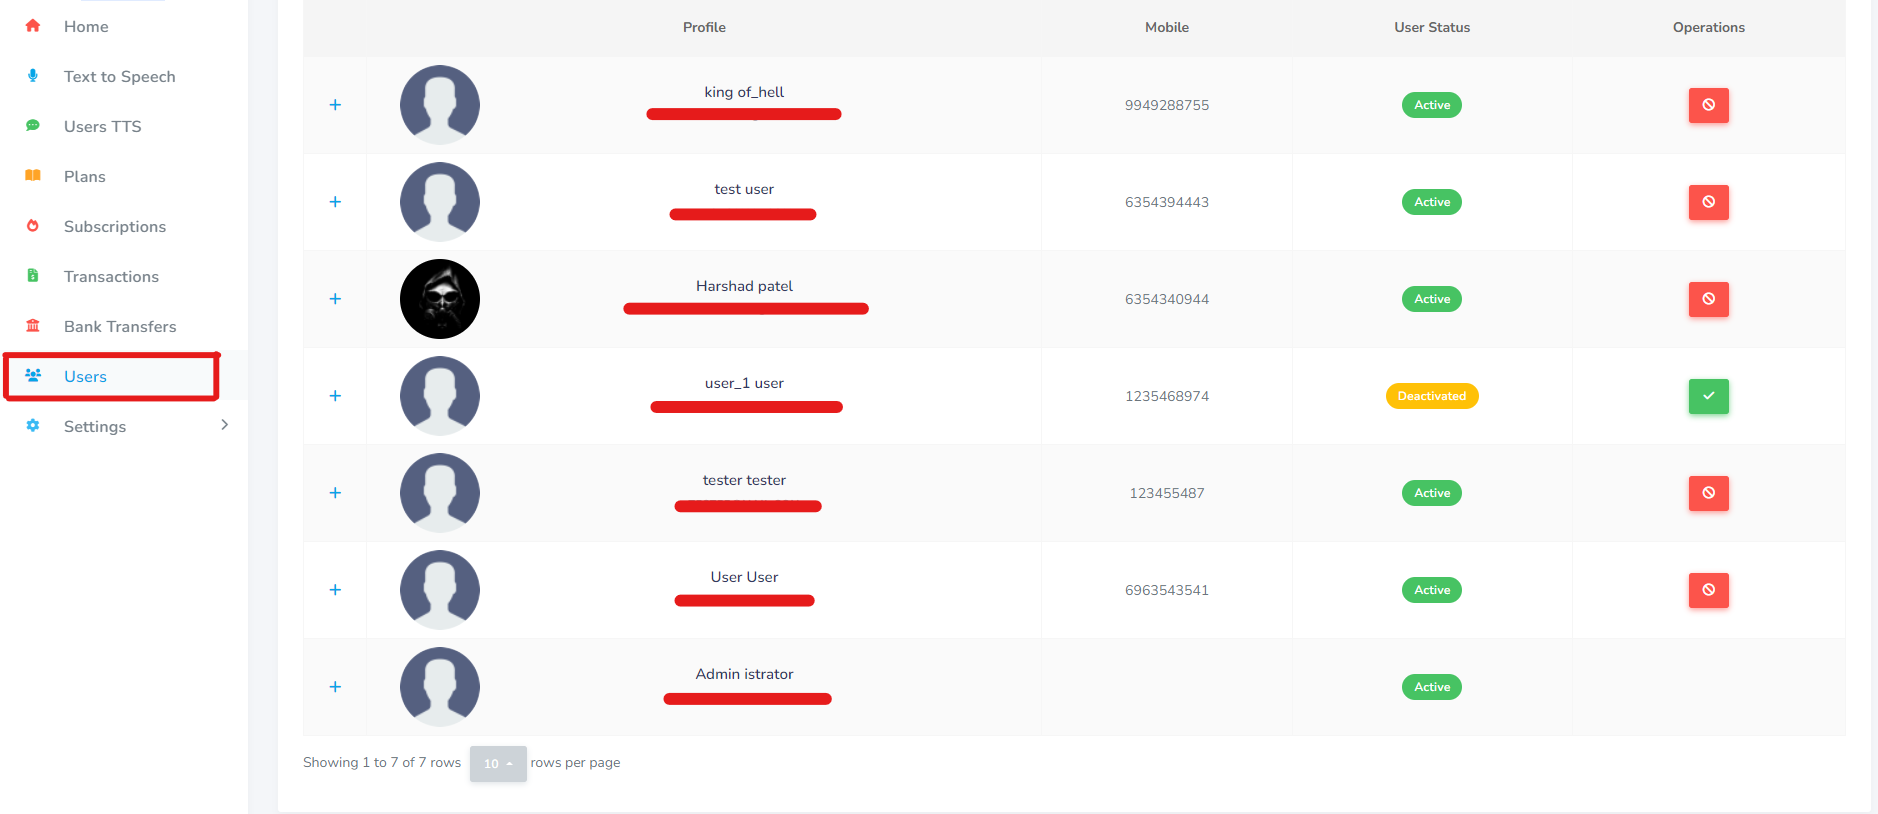
Users
- See all registerd users under users
Sections.
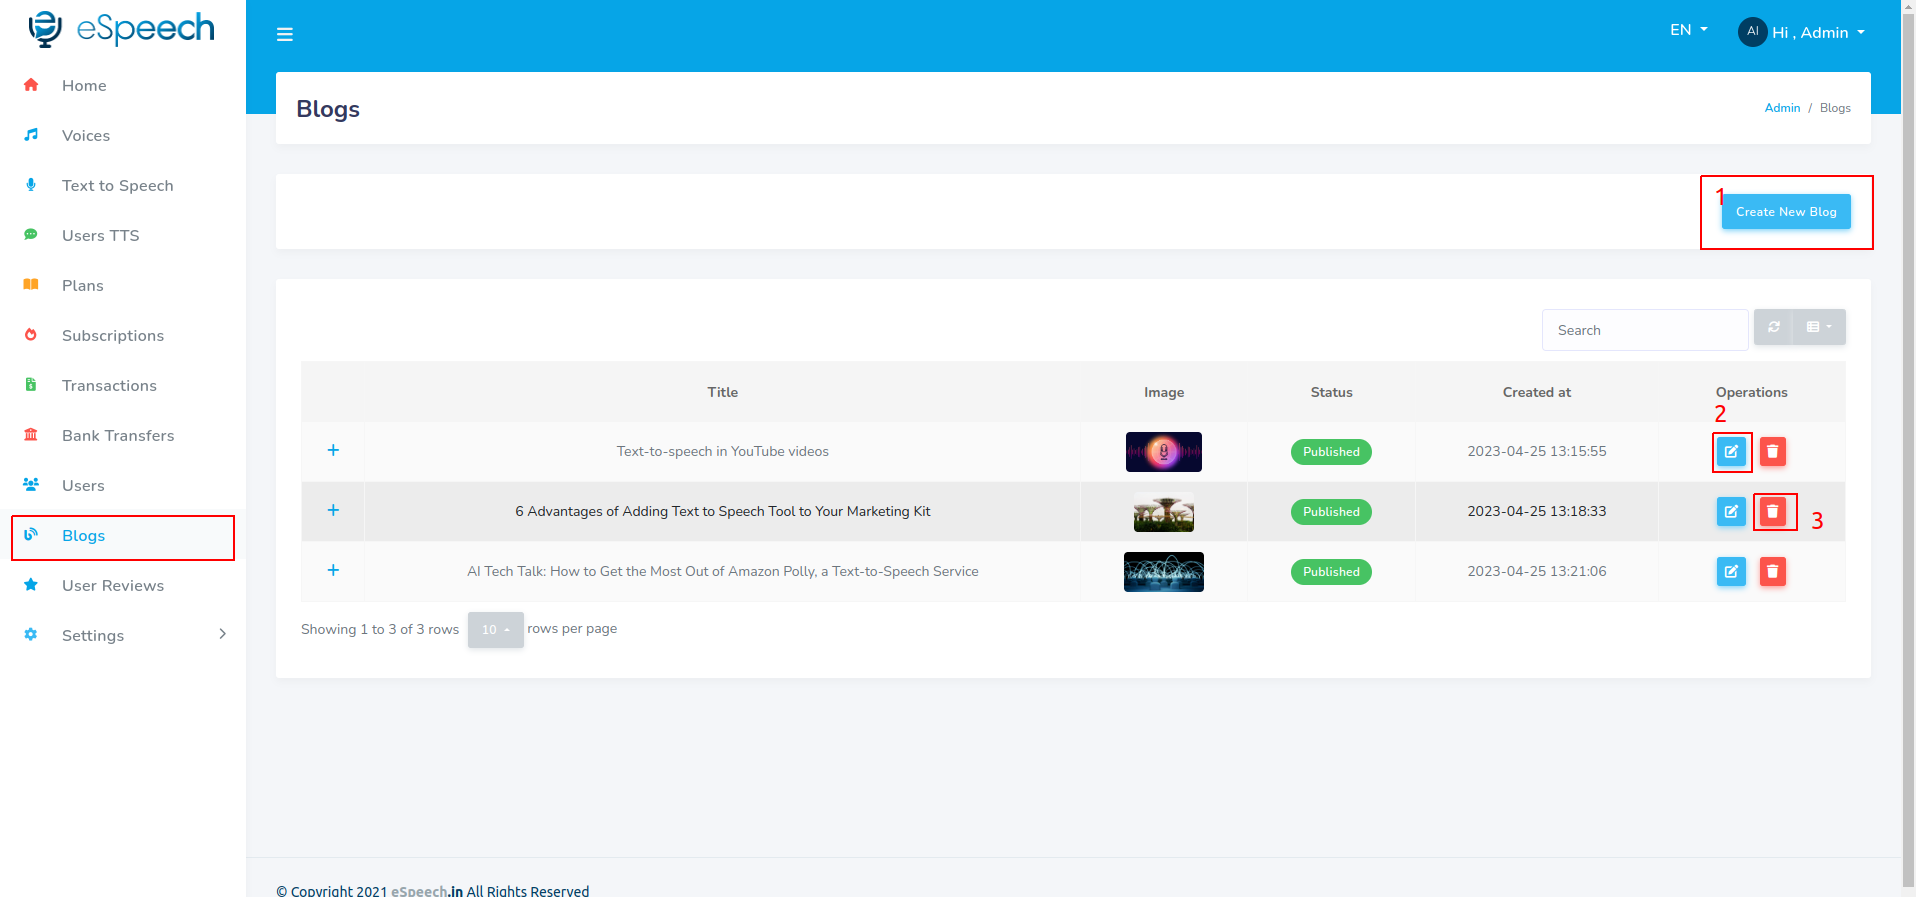
Blogs
- See All the Blog list
- Create New Blog
- Edit Your existing blog
- Delete Blog
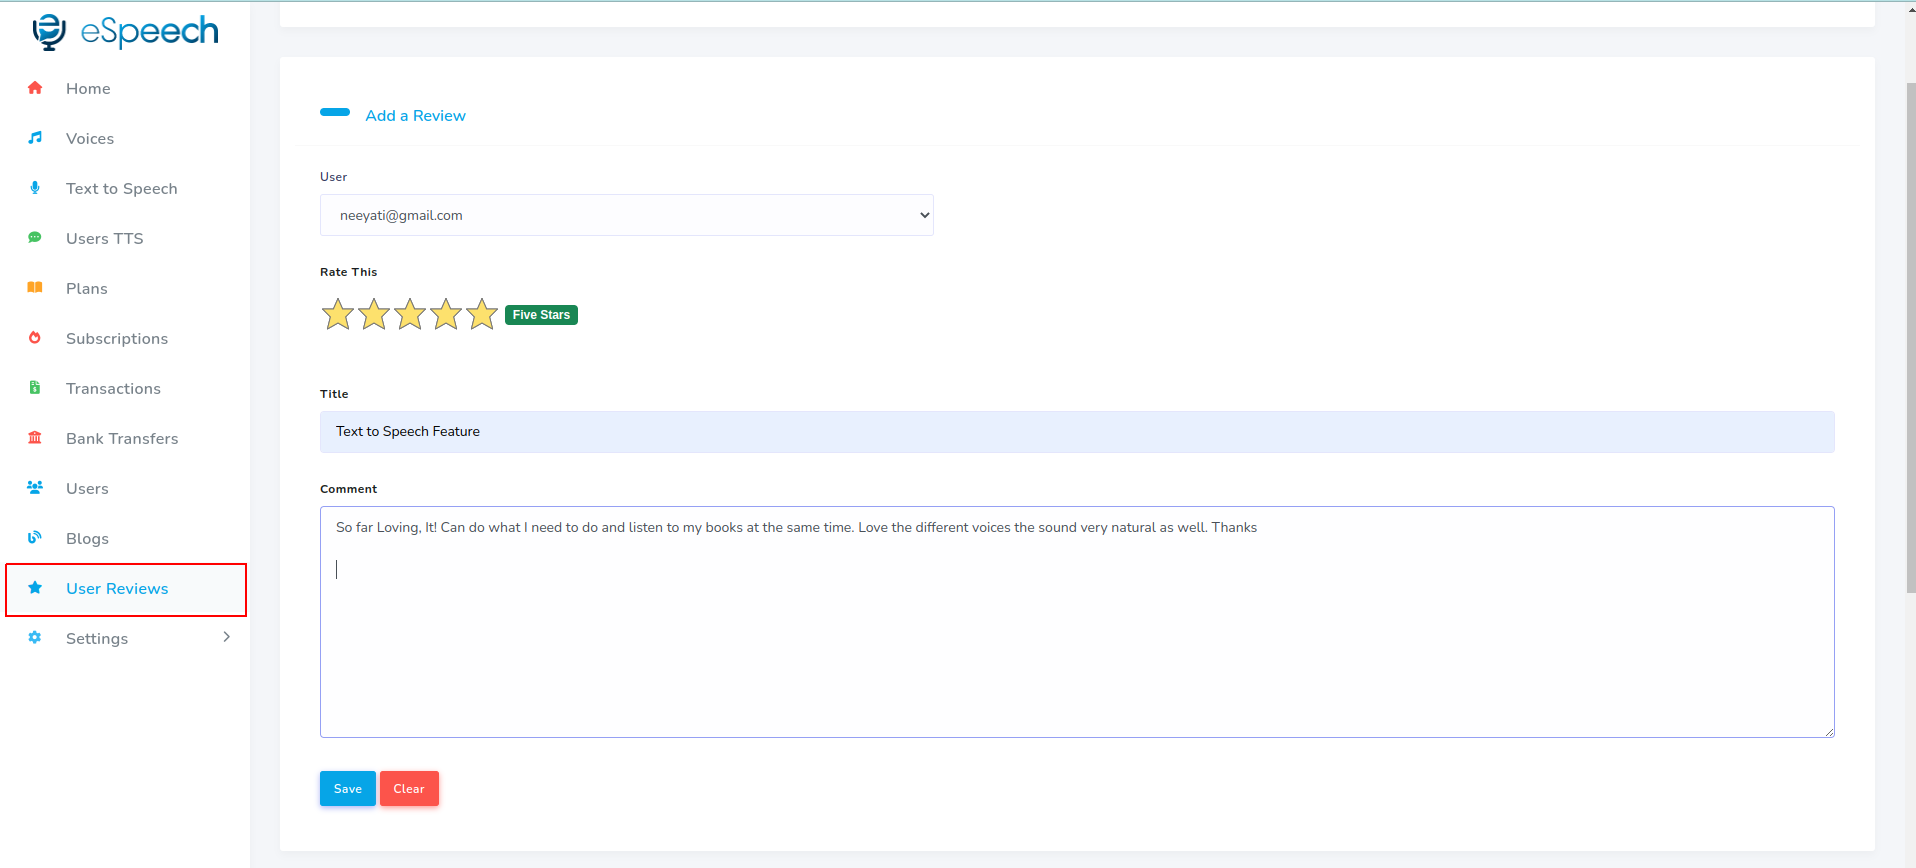
Reviews
- Add Reviews
View all Users Reviews
table.


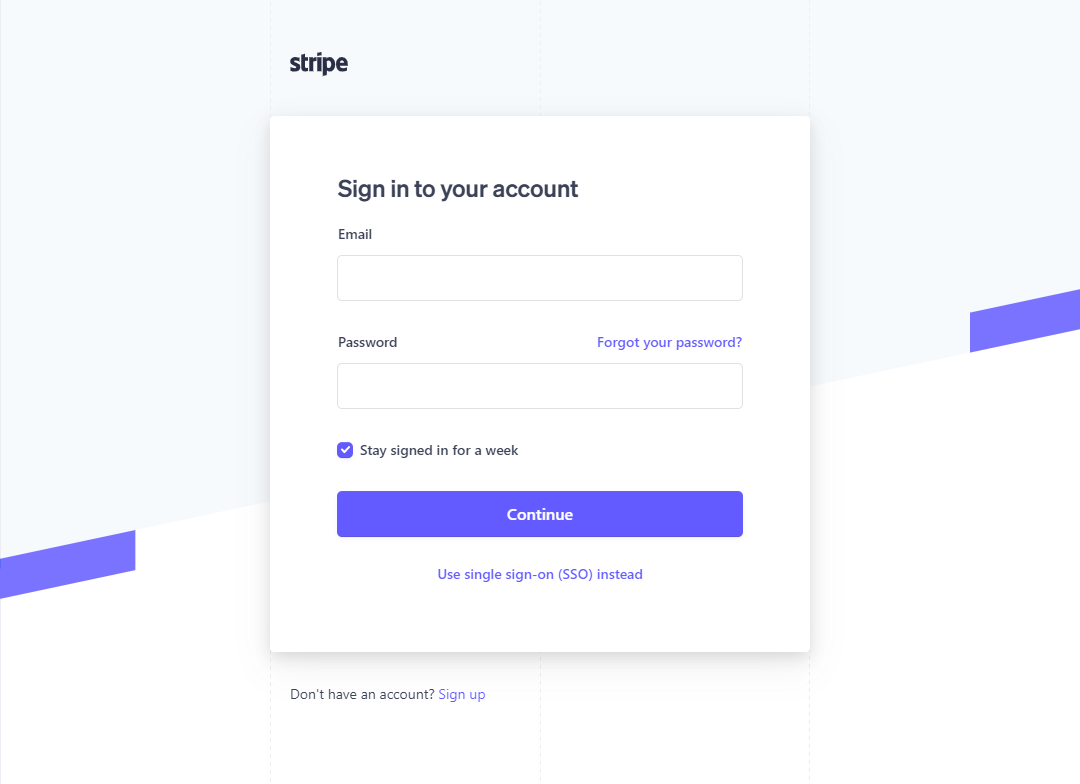

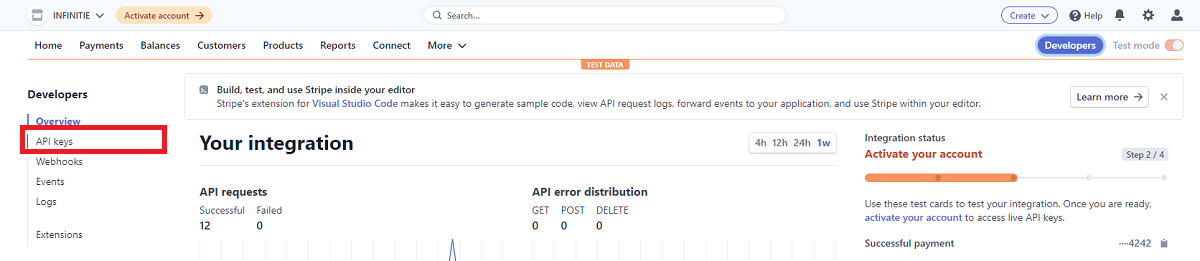

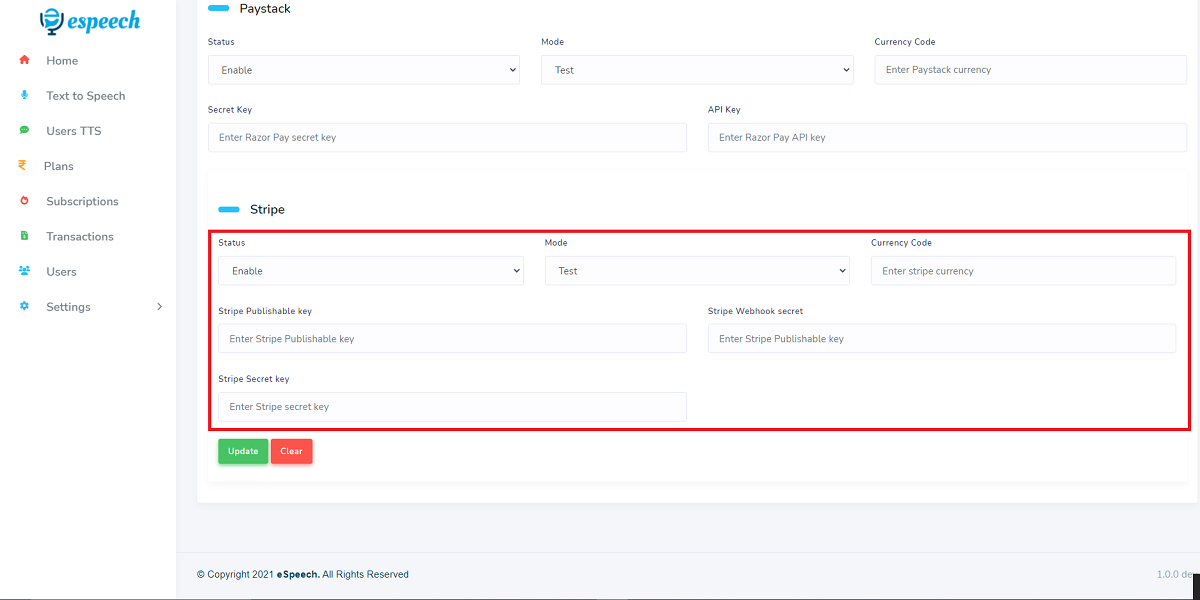
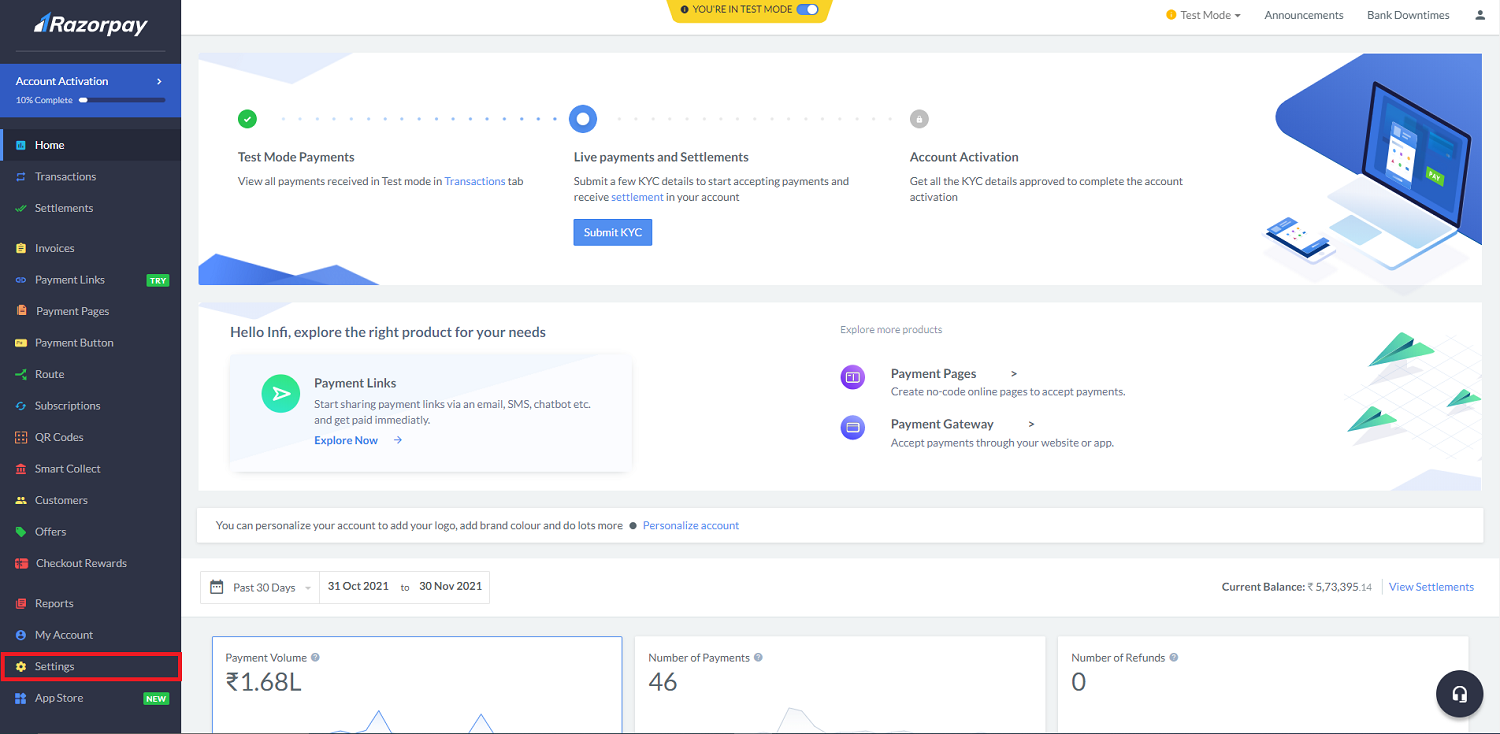
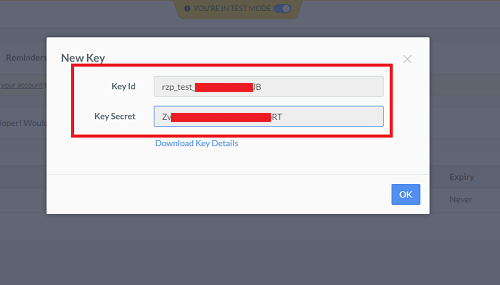
 Razorpay
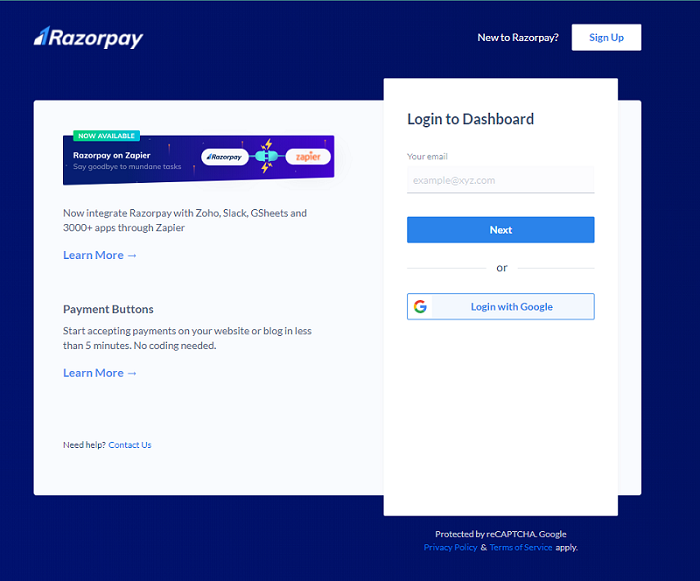


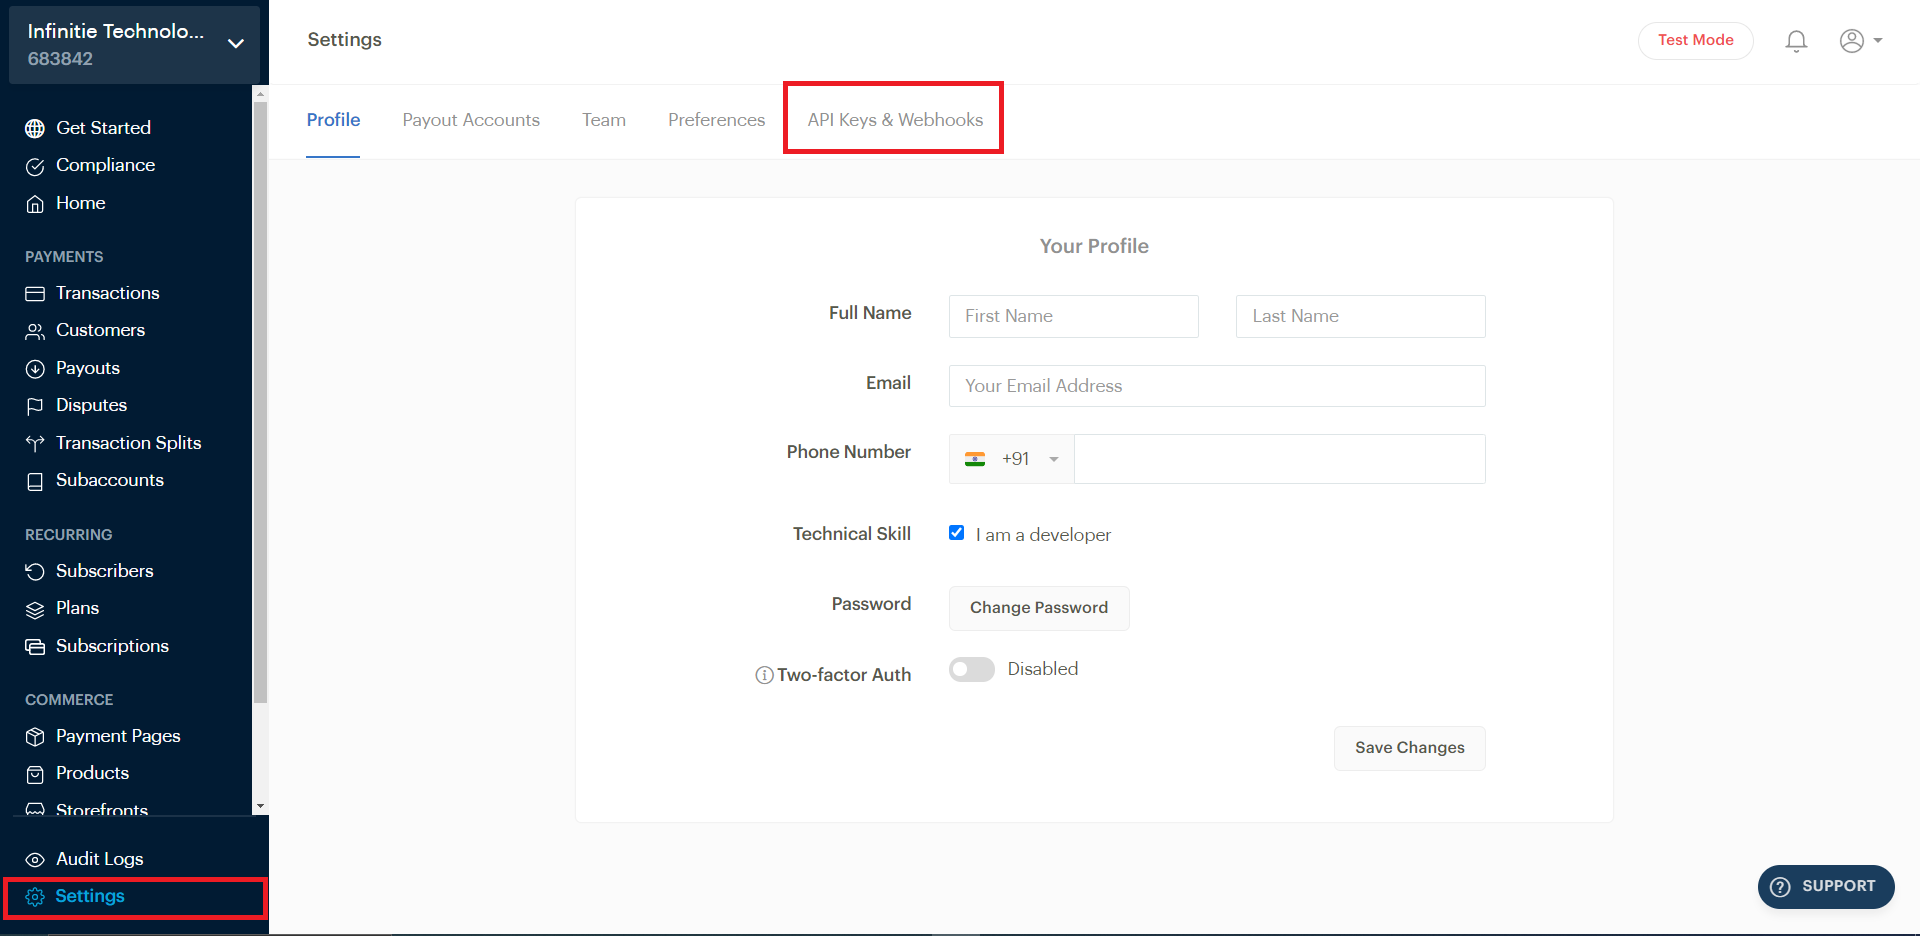
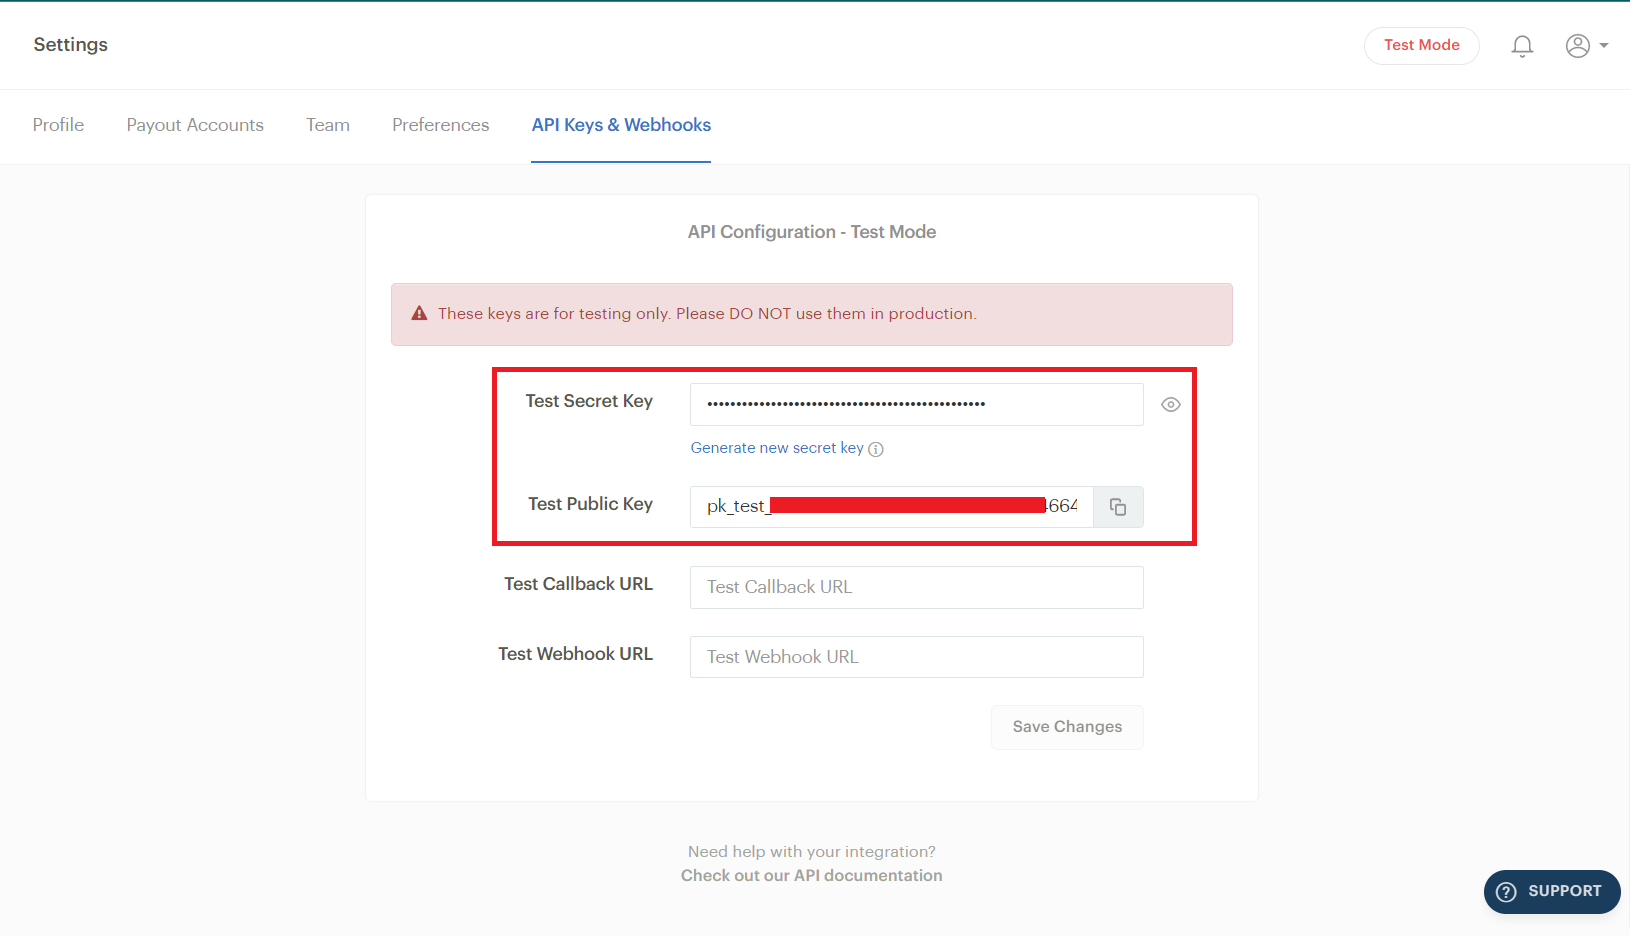
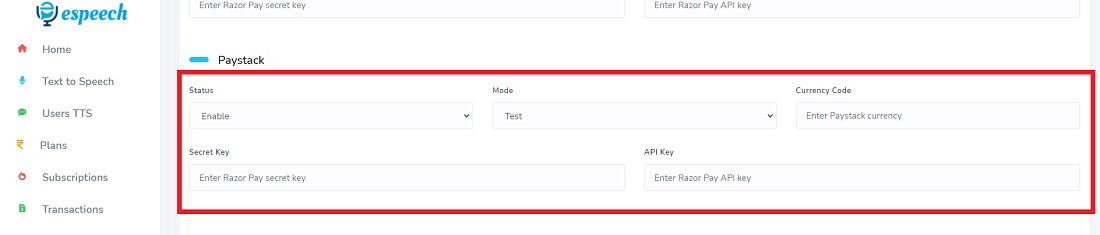
 Paystack
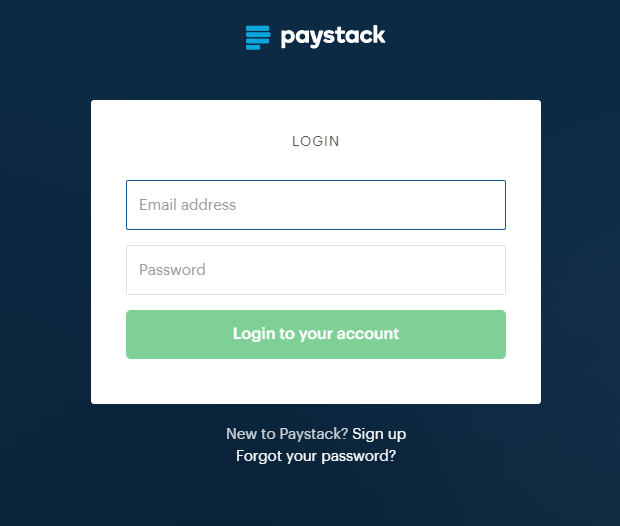
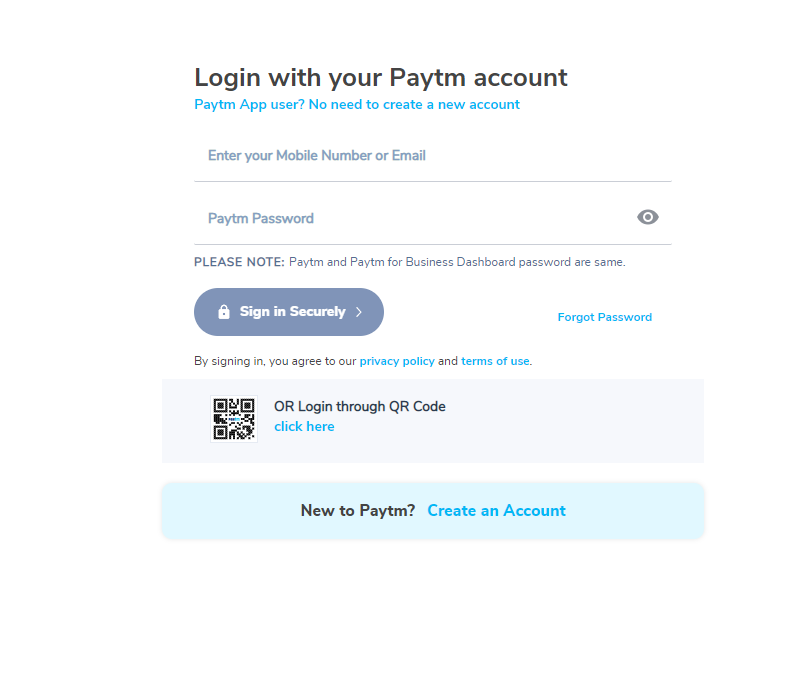
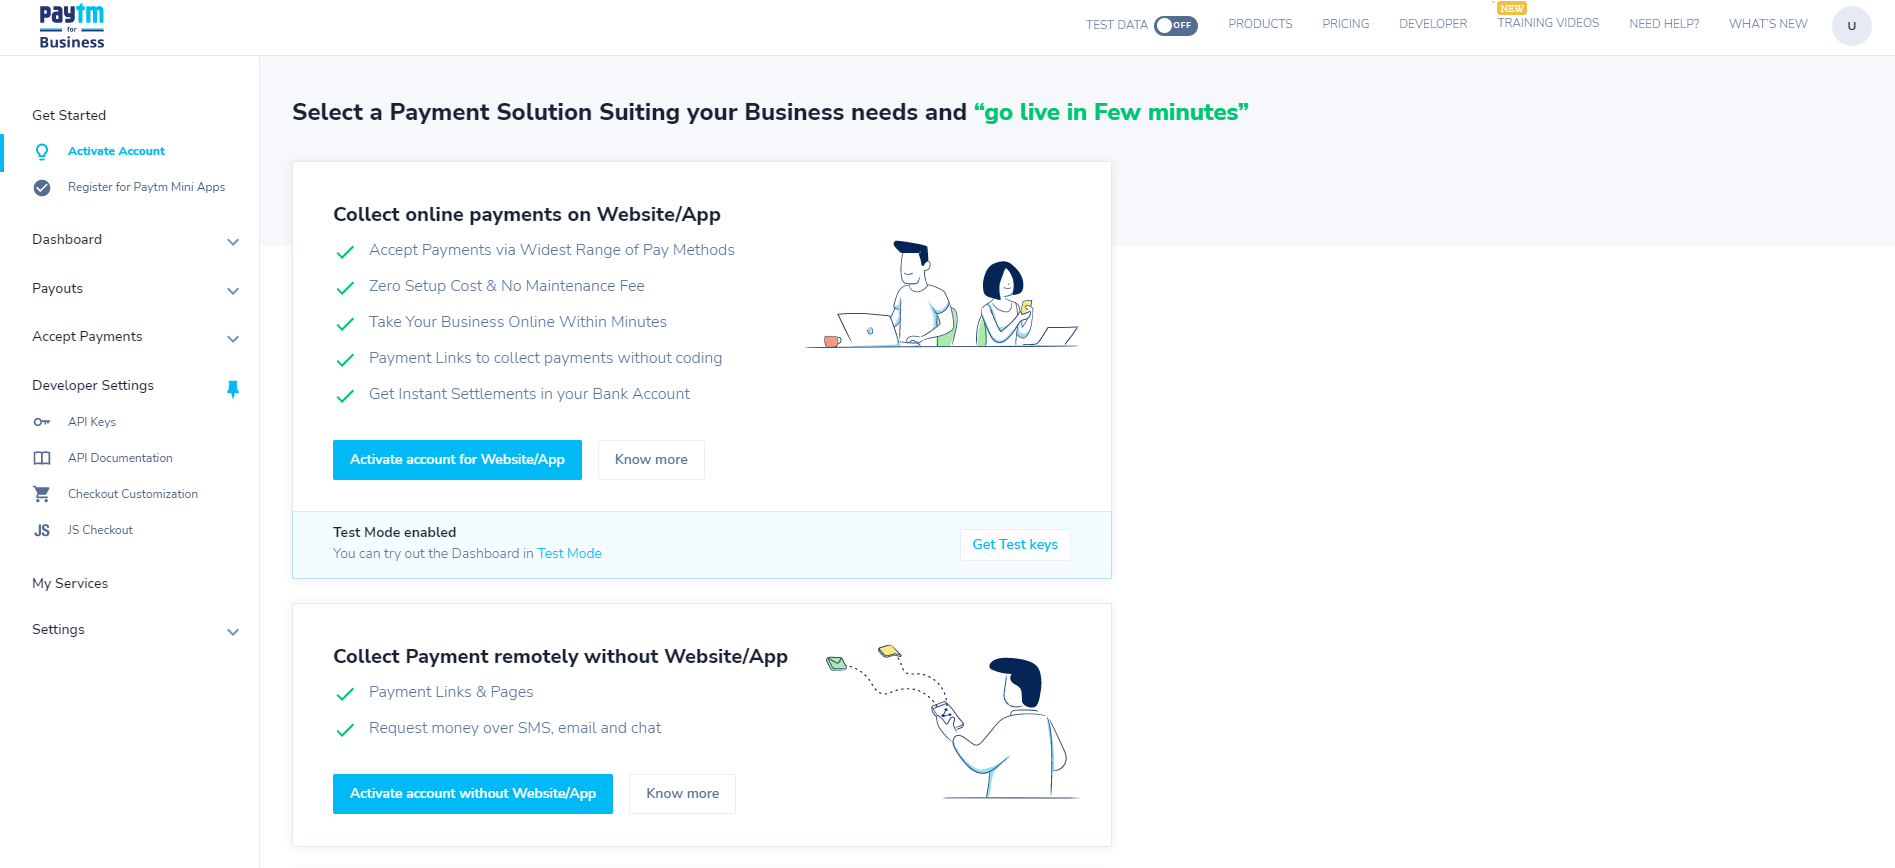
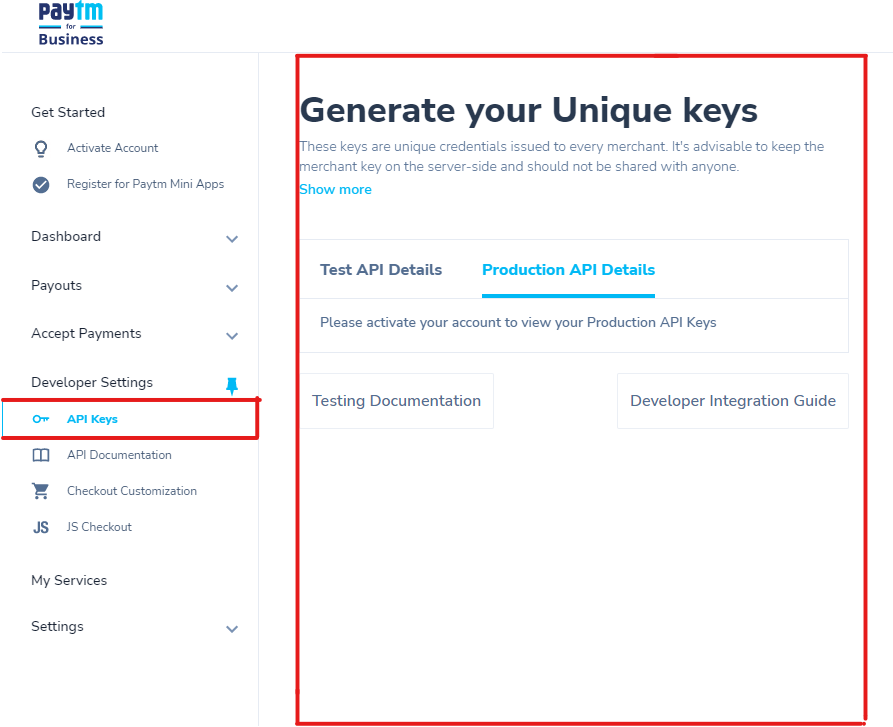
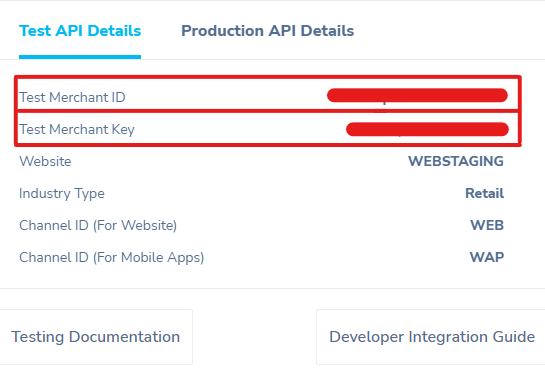
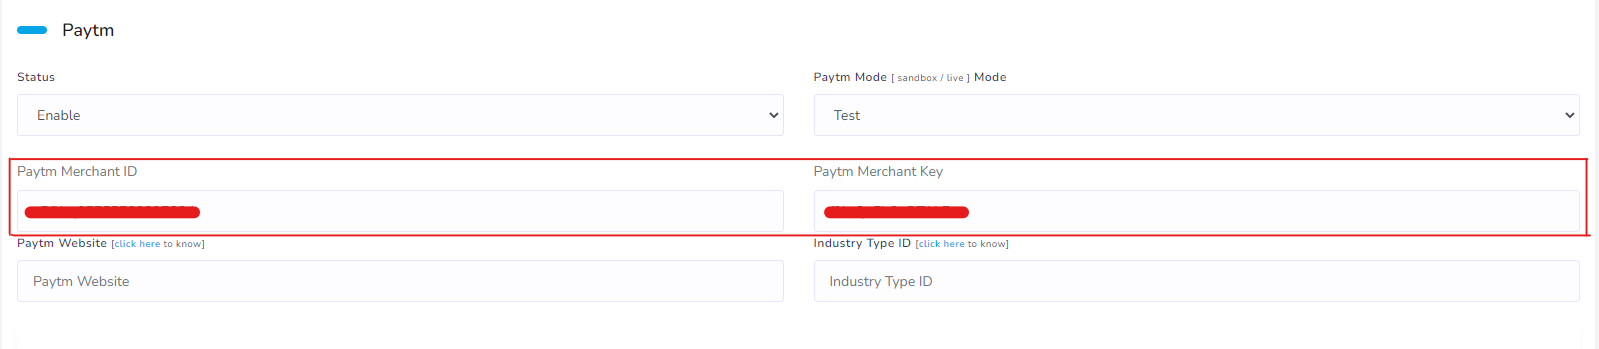
 Paytm
Paytm