Radio App Admin Panel Documentation
Company:
WRTeam
Skype:
purnima.wrteam@gmail.com
For questions beyond the scope of this documentation, please reach out to our support team via Skype or the user page contact form.
Installation Steps
1. Installation Screen
The Initial screen of the Installation process gathers essential data required before commencing the installation. This typically includes collecting information such as database credentials and any other configuration settings necessary for setting up the application.

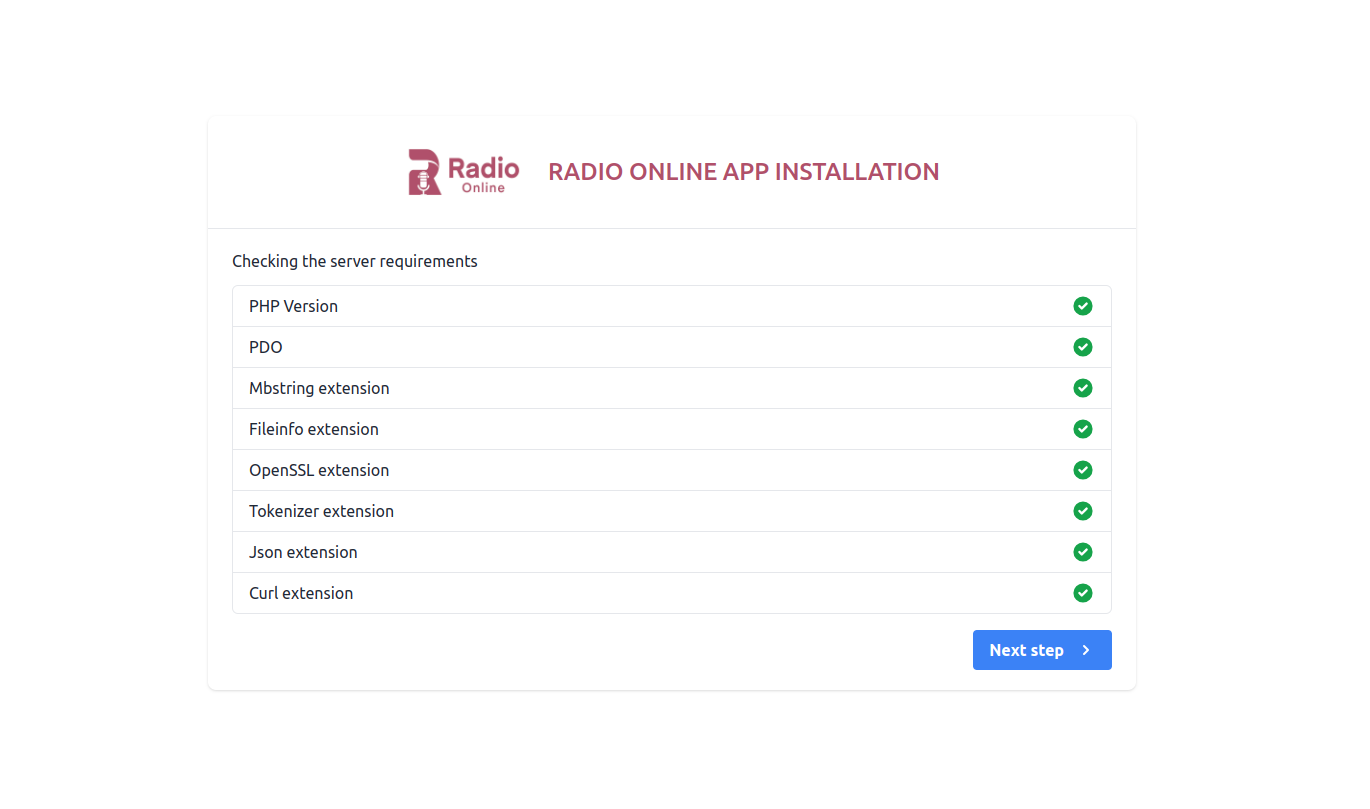
2. Server Requirements & Extensions
If PHP version is lower than 8.0 or any extension is not installed then it will be highlighted using Red color. So you need to make sure that your server meets the all requirement.
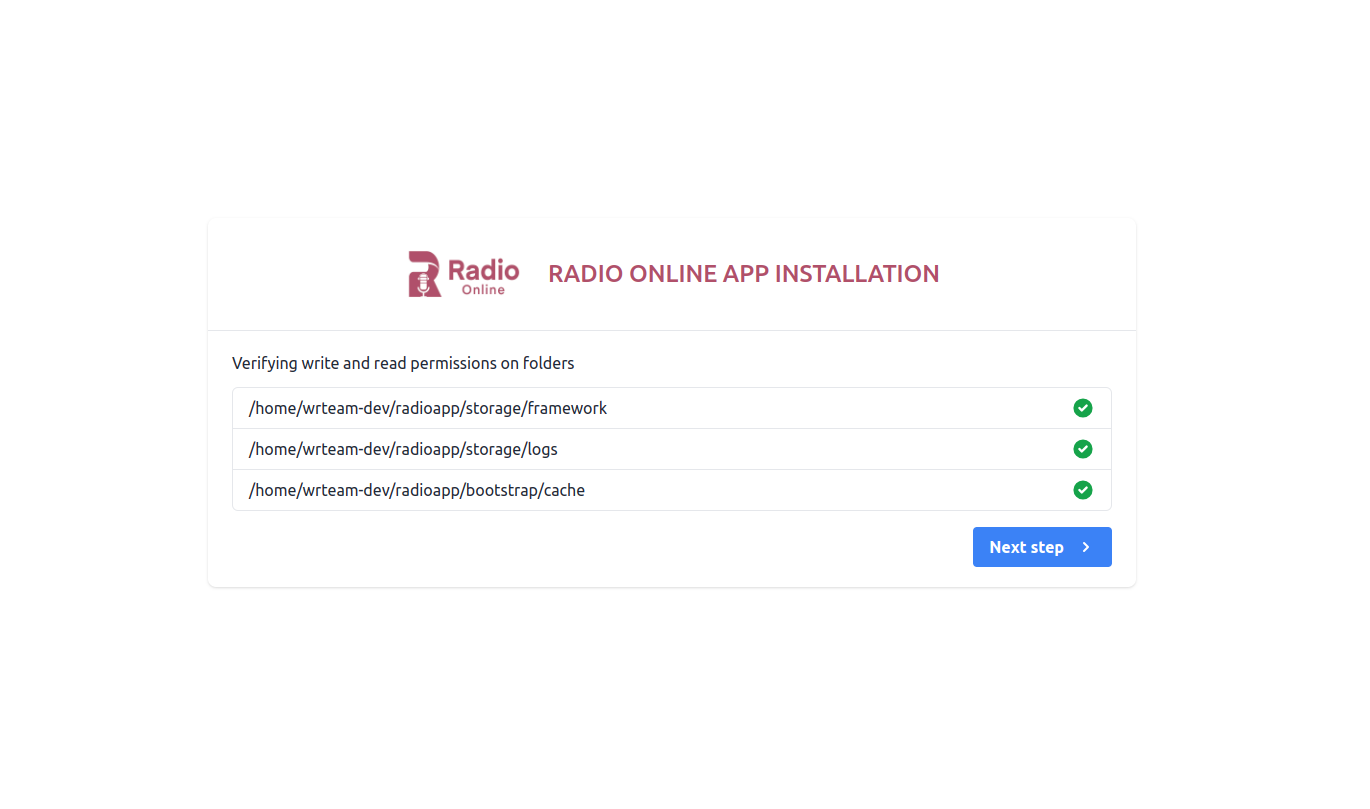
3. Permission Screen
Make sure this folder have read & write permissions. If not then assign this folders read & write permissions.
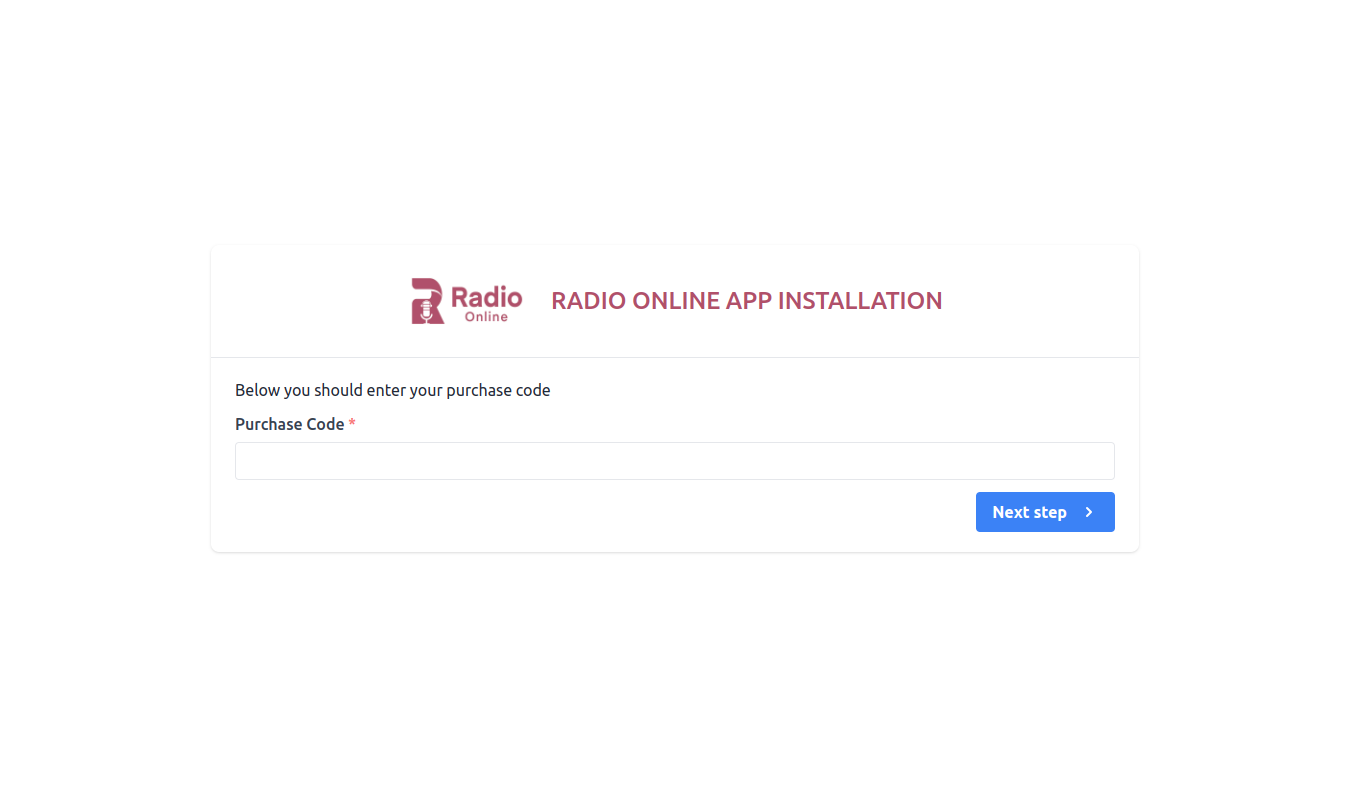
4. Purchase Code Validation
Here you'll have to insert the purchase code obtained from CodeCanyon to authenticate your purchase and authorize your server to access the services. To find your Purchase code you can visit this link: Where is My Purchase code?
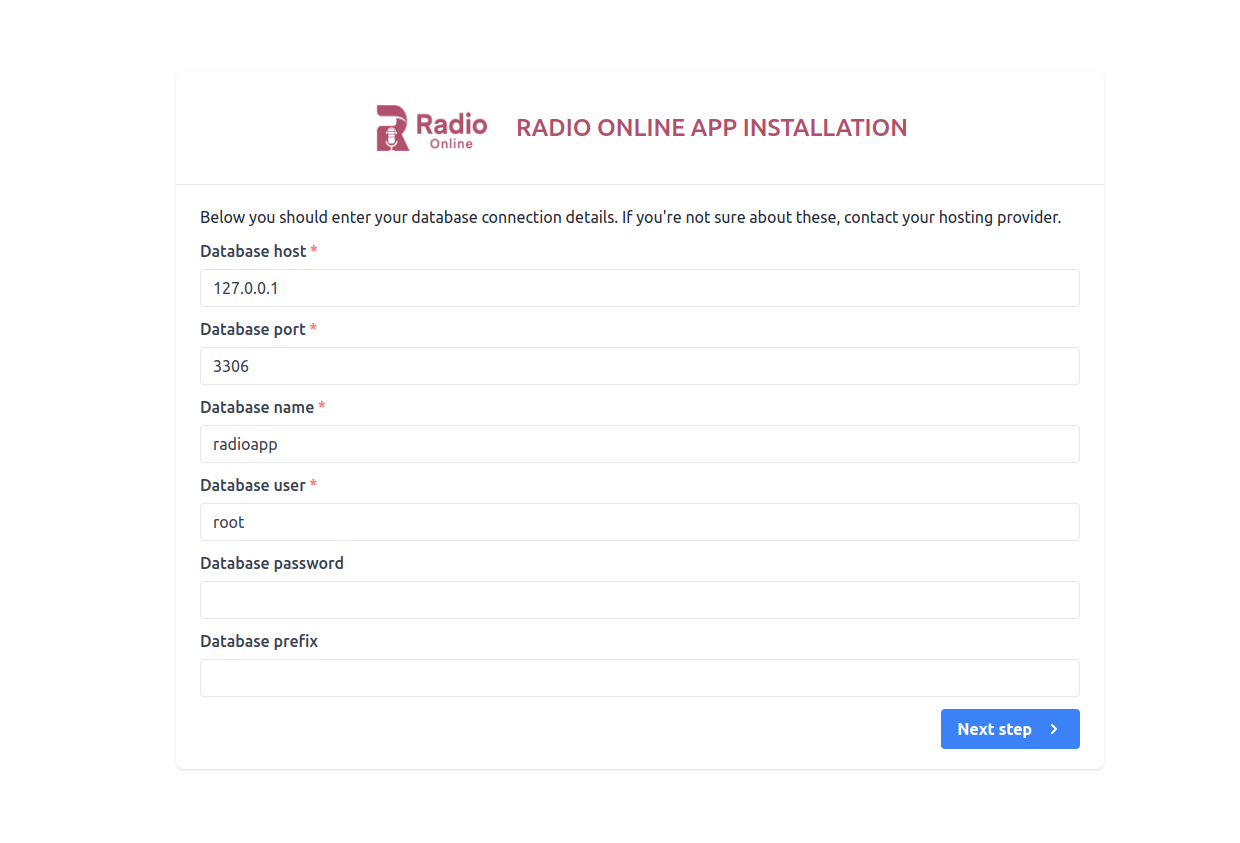
5. Database Configuration Screen
Before adding the database configuration, ensure that the nd_pdo_mysql extension is enabled in your PHP version. This extension is necessary for connecting to MySQL databases using PDO (PHP Data Objects).
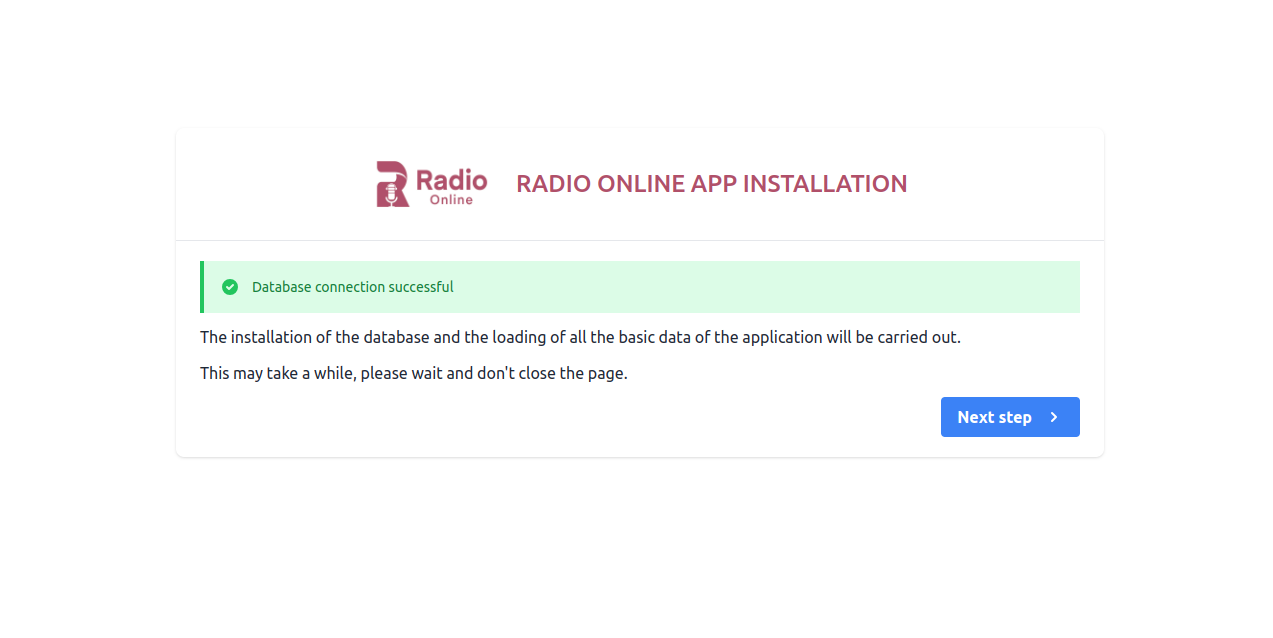
6. Database Connection Status
If the database connection is successfully established, it typically indicates this through a confirmation message or status indicator, such as "Connection successful" or a green checkmark icon.
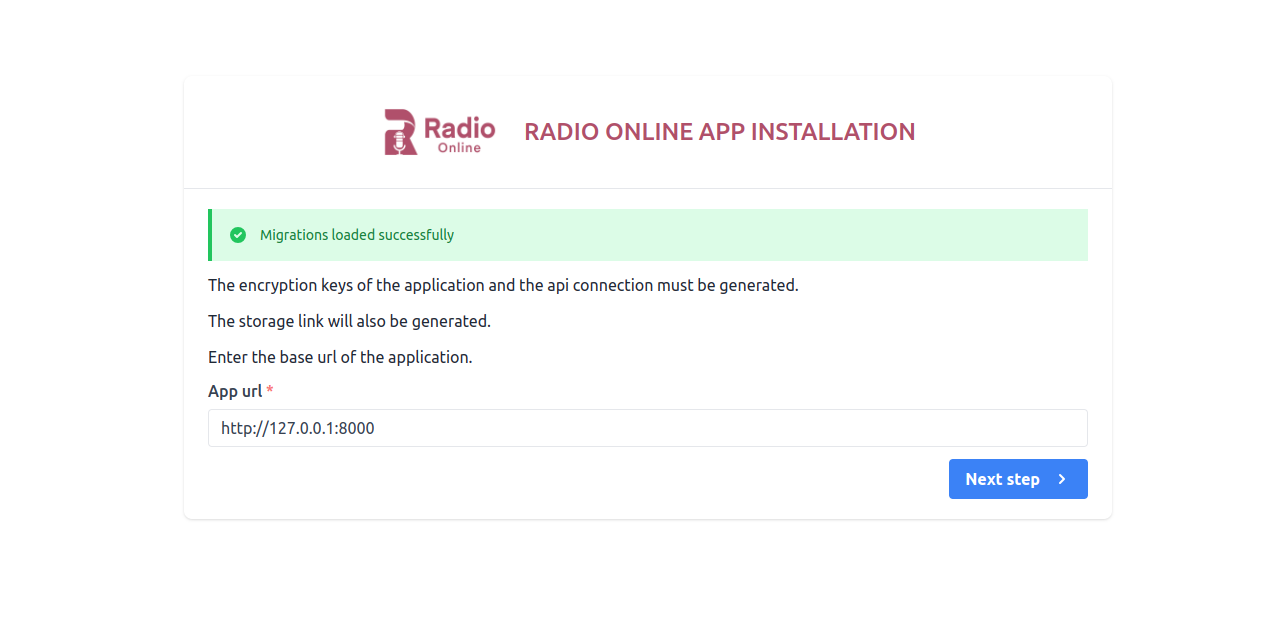
7. Migration Files Loaded
After successfully establishing the database connection, the migration process begins, transferring database tables to your database.
8. Final installation Screen
If everything is configured successfully then your Admin panel has been installed successfully.You can login as Admin using the credentials provided here.
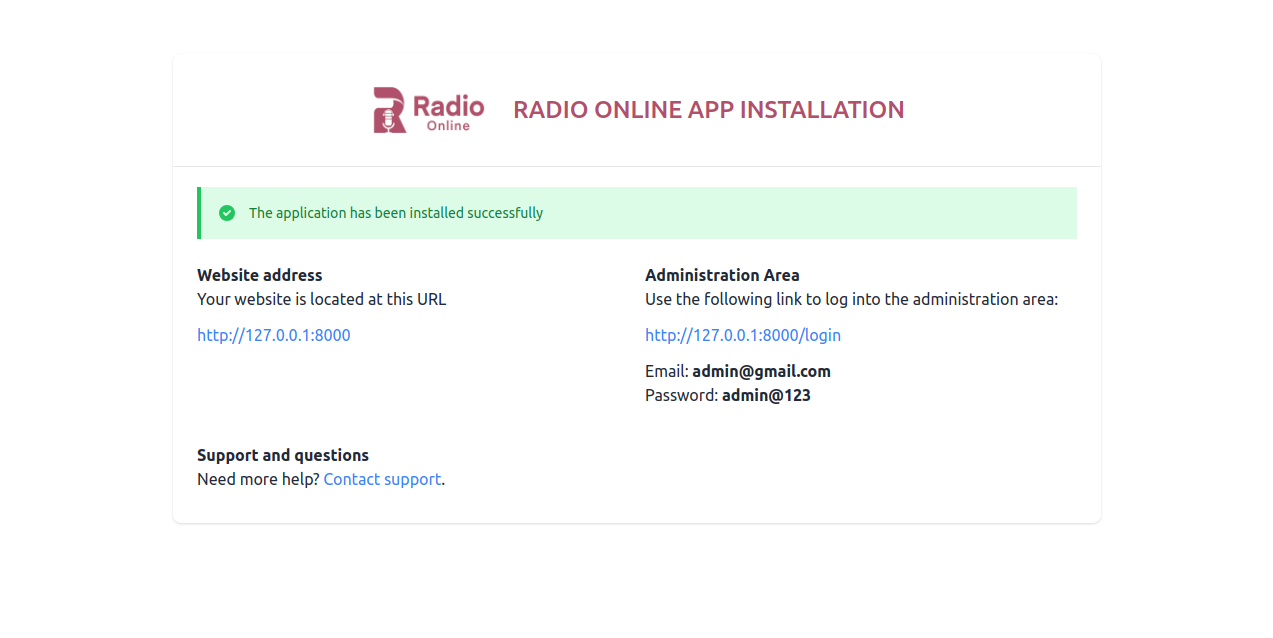
Thats it! Now you are ready to run your first Radio App
Default Login DetailsUser: admin
Pass: admin@123
2. System Settings
The Settings Section allows Admin to customize key aspects of the application. From changing basic information like app name, email, and timezone to personalizing visual elements such as theme color, logo, and login page background image. Additionally, admins can enable features like city mode, maintenance mode, and input FCM server key for push notifications.
After Changing System Settings Admin can change the Admin Panel Password from Profile > Change Password.

3. App Settings
You can add the published app links here and also if you want to enable/disable the force update, maintenance mode.

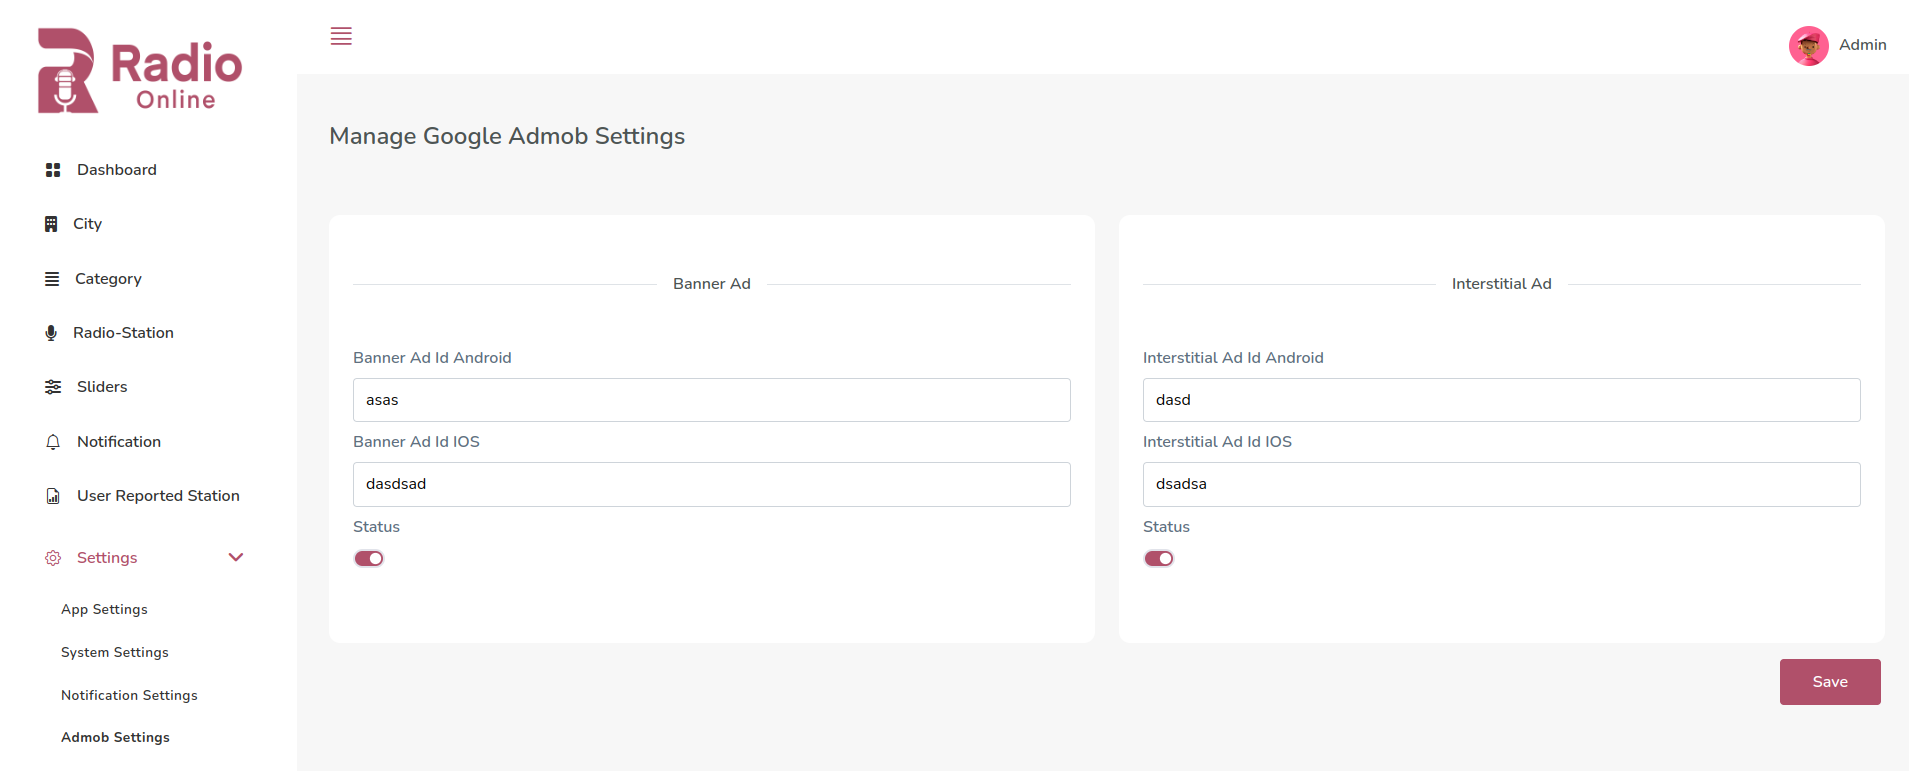
4. AdMob Settings
AdMob settings help you manage and optimize ad placements in your mobile apps, enhancing revenue while ensuring a smooth user experience. Key features include ad unit configuration, targeting, and performance tracking.
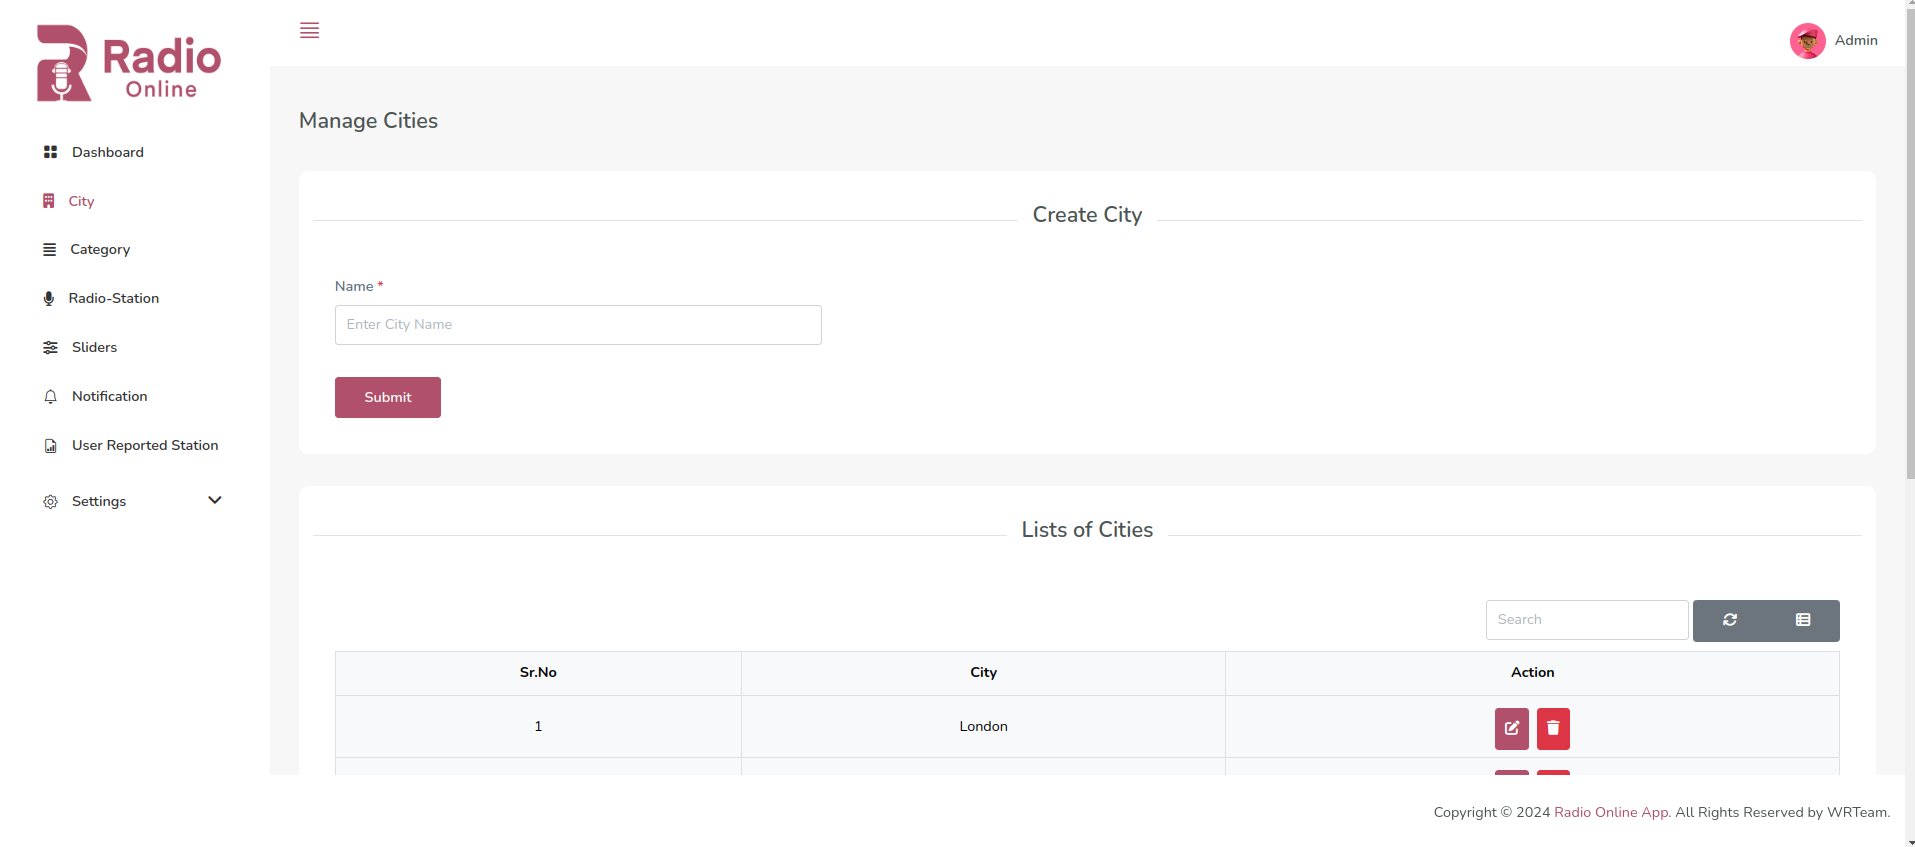
5. Manage City
Admin can add city , edit city name, delete city and show list of cities,
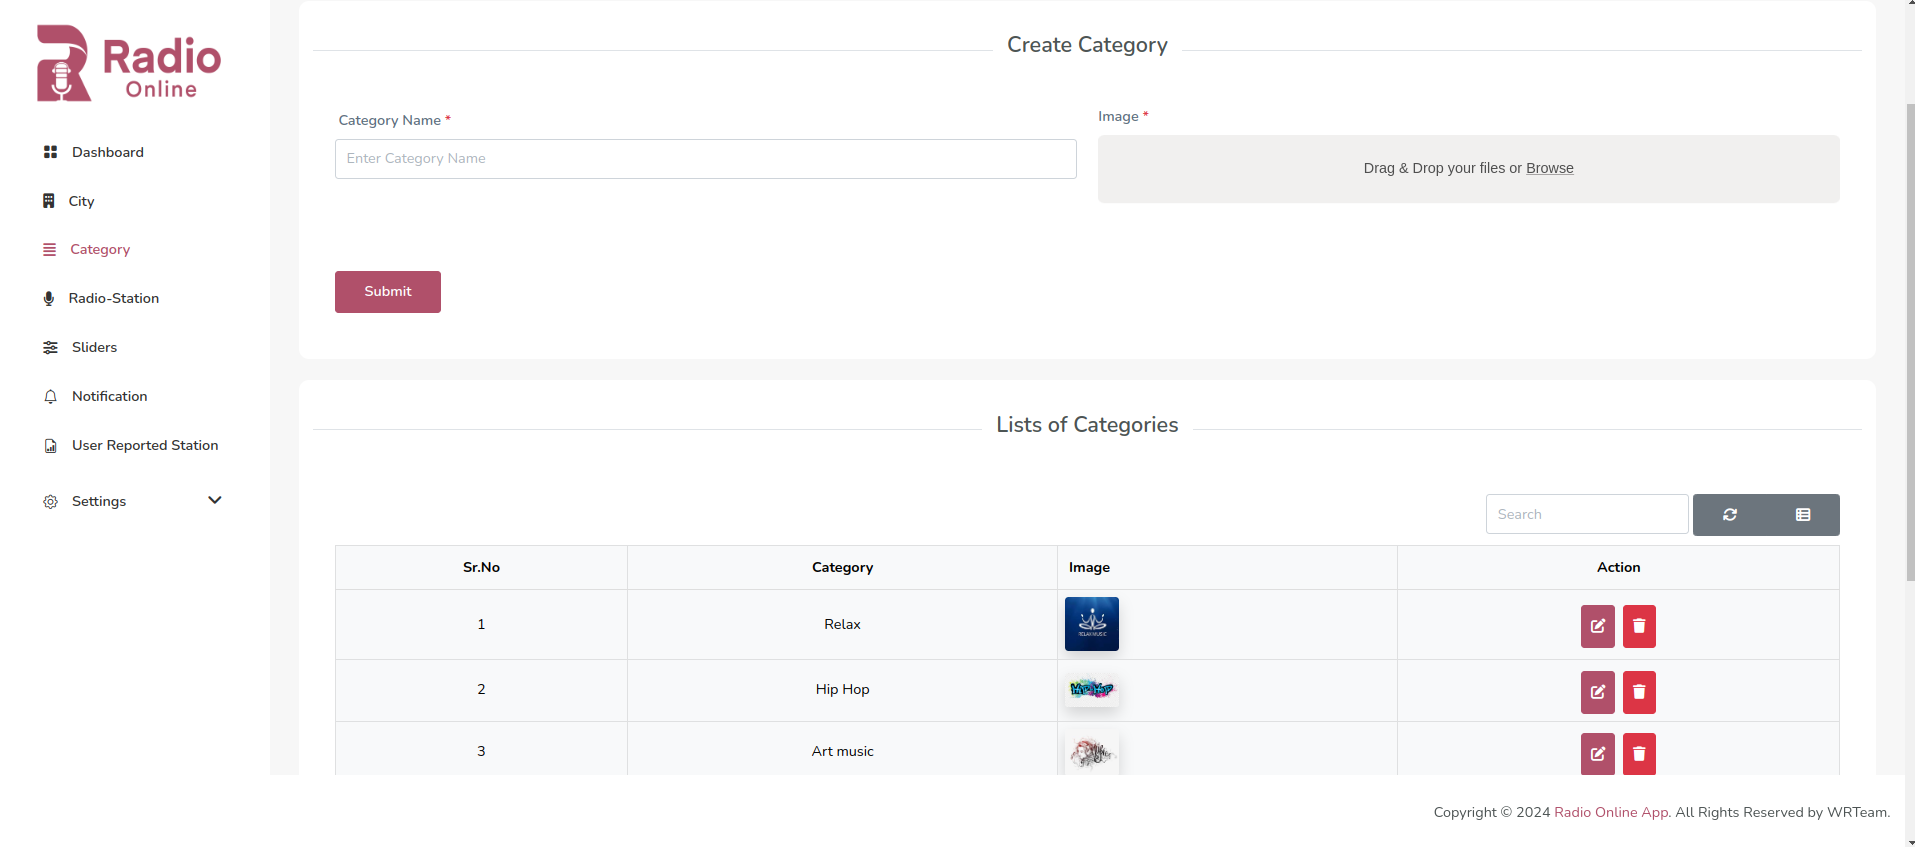
6. Manage Category
Admin can create Category with Category Name & image.
Image size must be less than 100kb.
Admin can add, view, edit & delete the list of Categories.
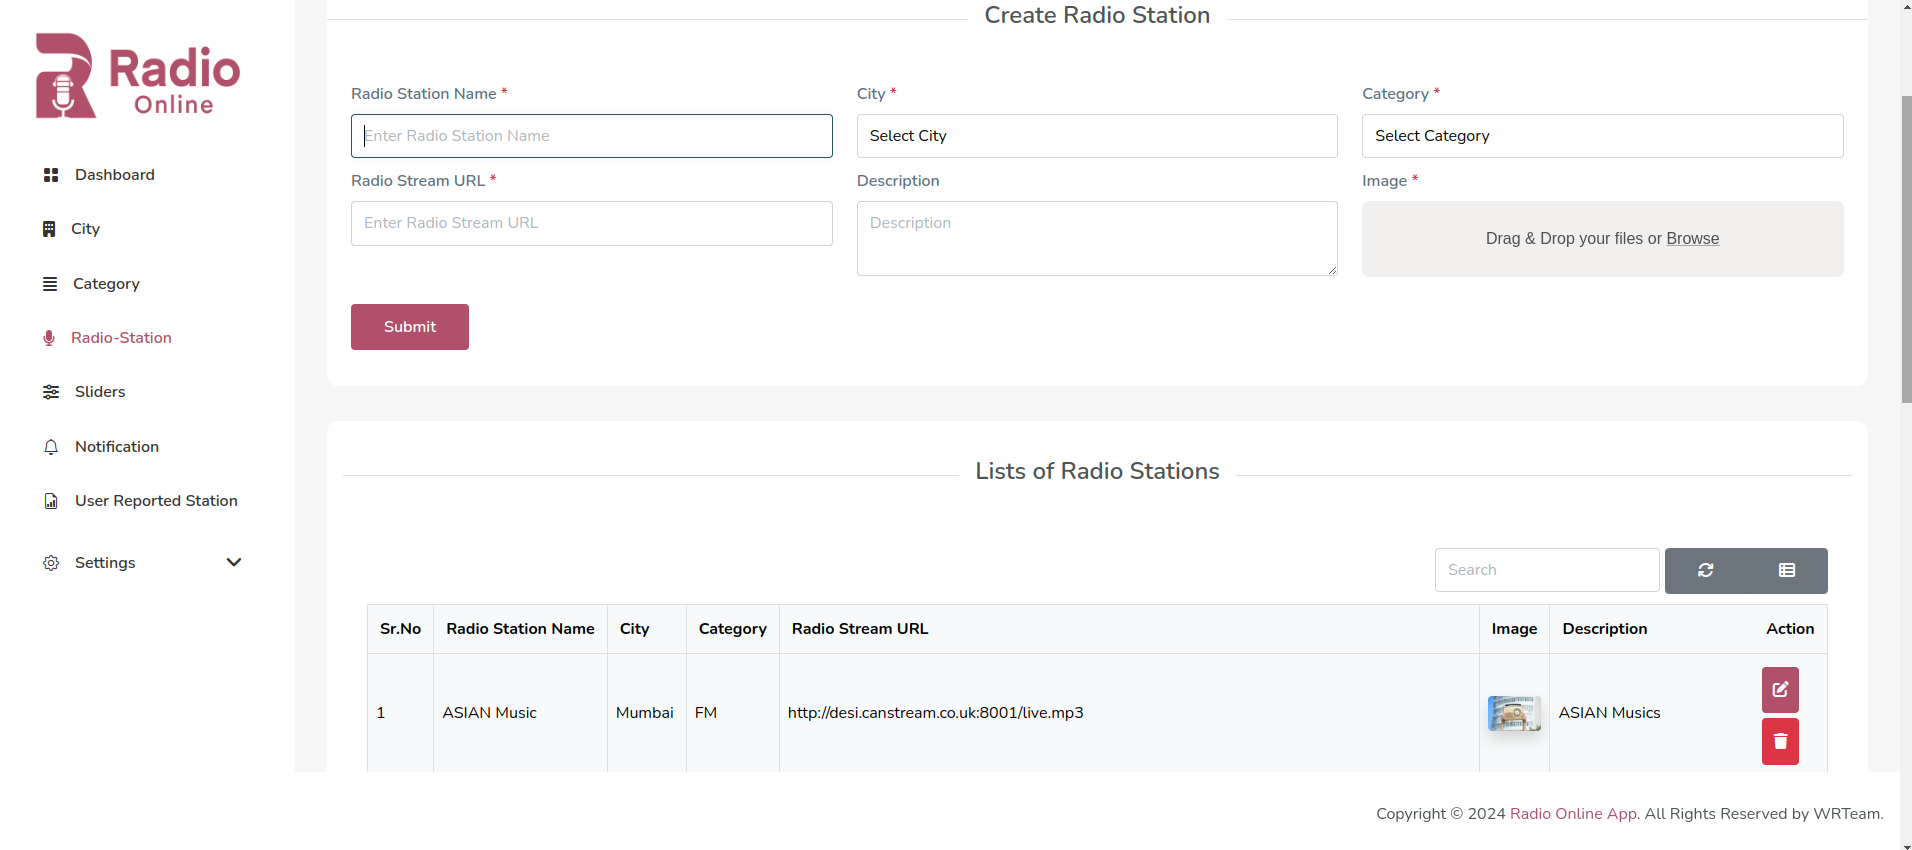
7. Manage Radio Station
Admin can create Radio Station, view, edit & delete the list of Radio Station.
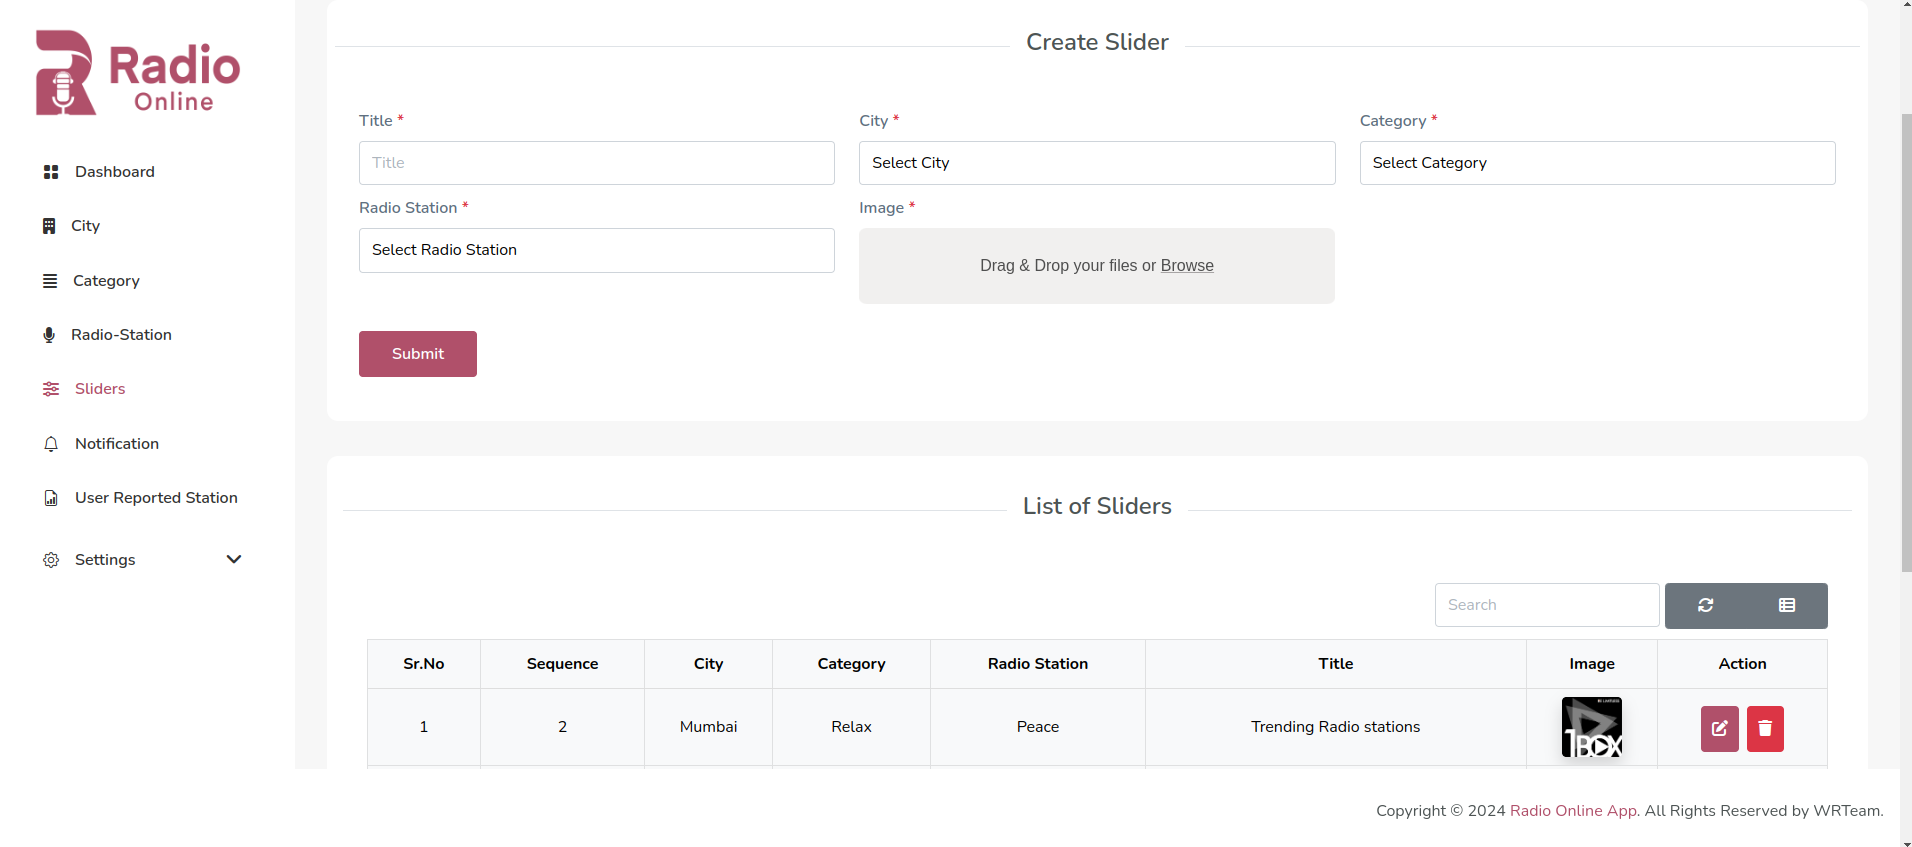
8. Manage Slider
Create Slider with Category, Radio Station, Title & image. You can view, Edit & Delete the list of Slider.
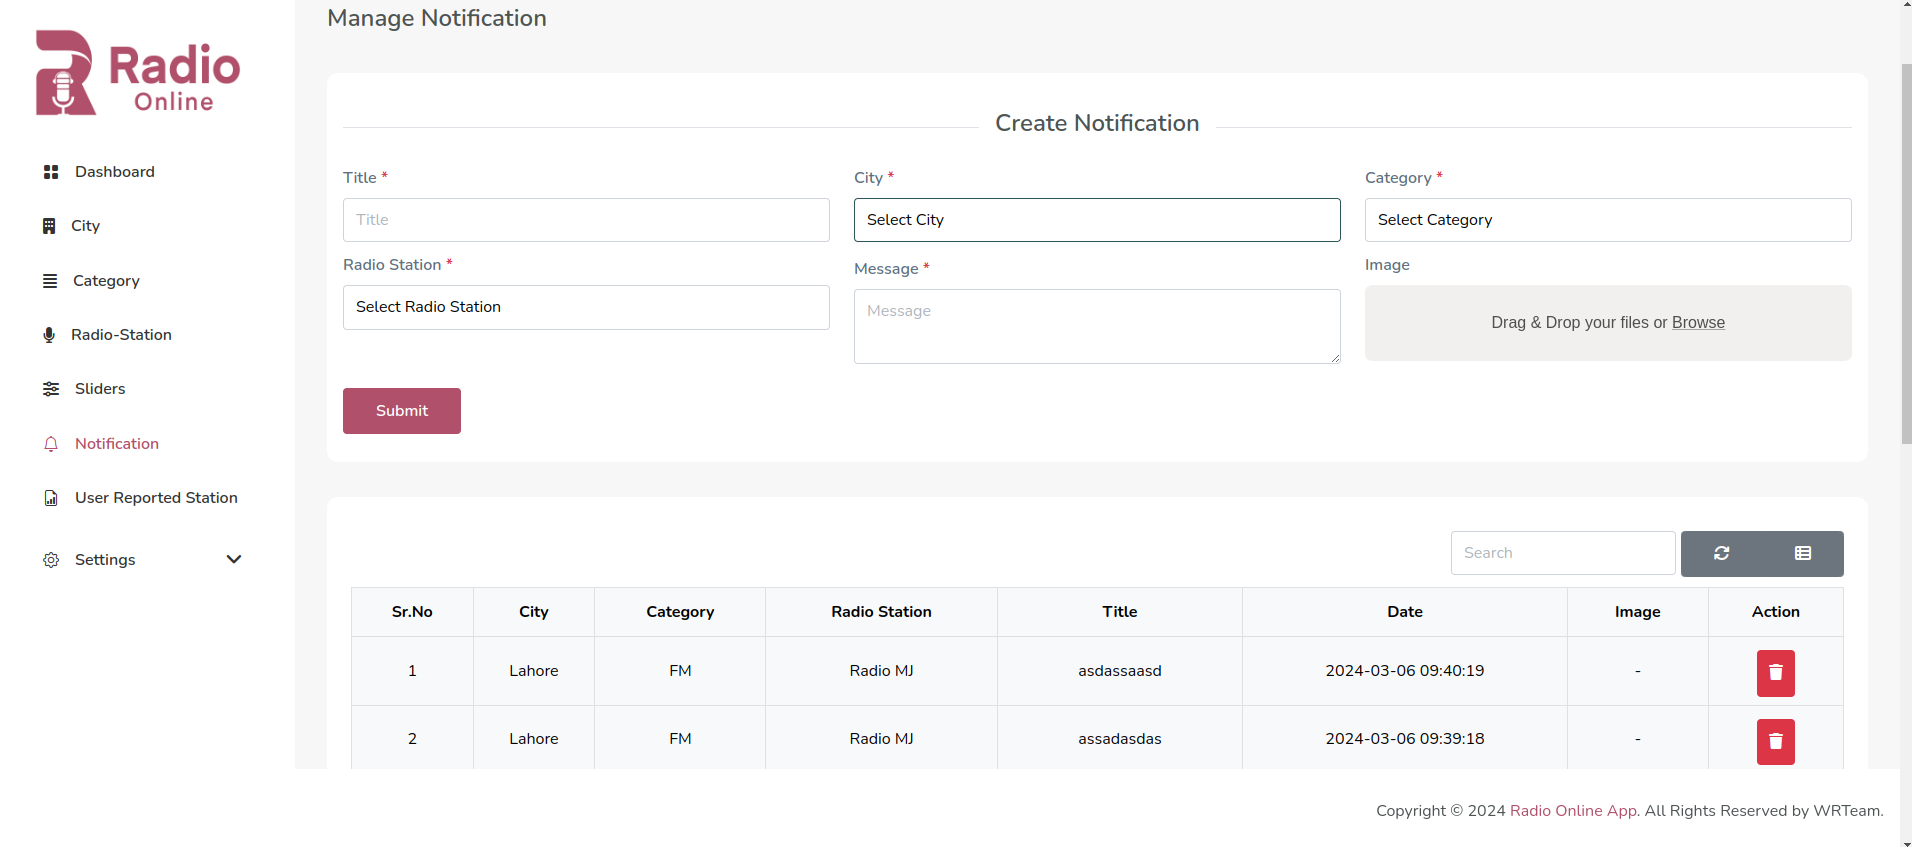
9. Notification Management
Now, Sender Id will be used for sending App Notification. Firebase console
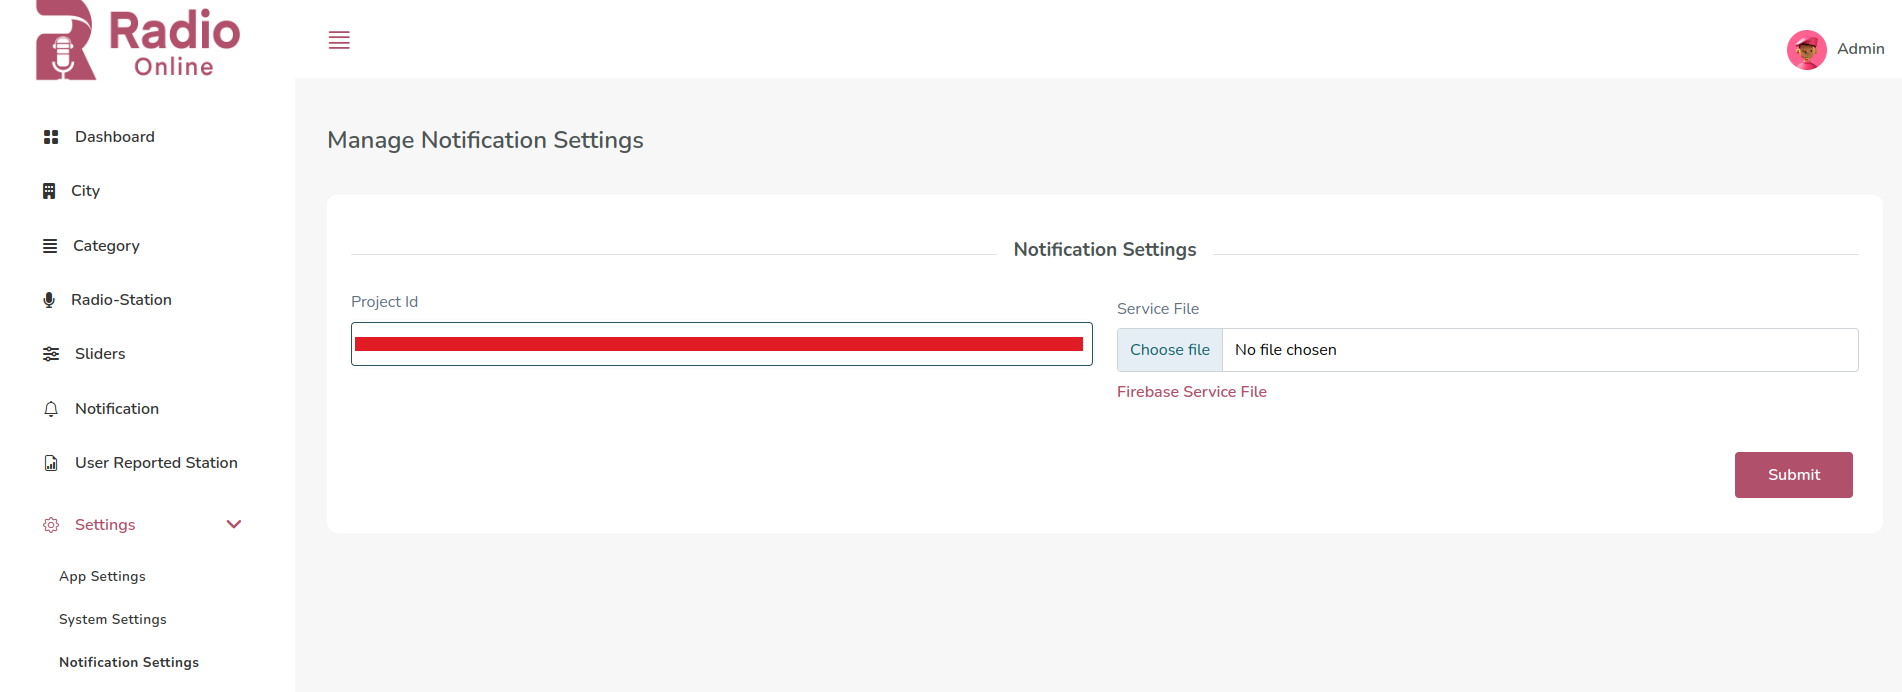
- Sender Id
- Firebase Project Id
- Service Json File
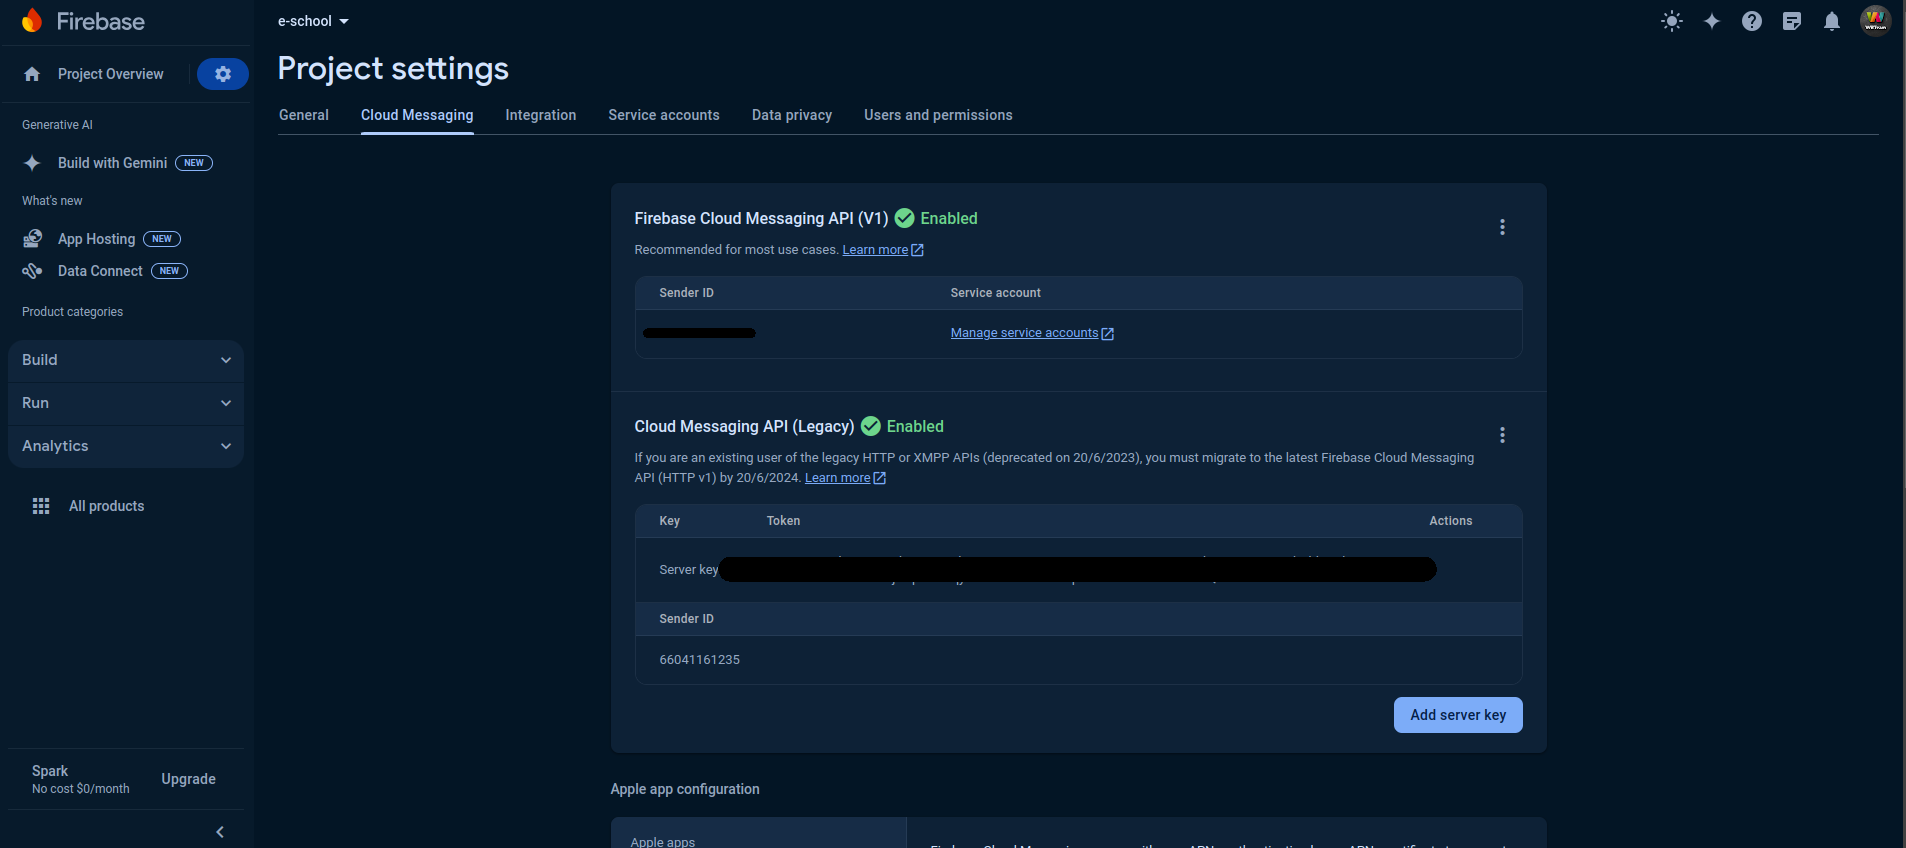
1. In the Firebase console, go to Project Settings.
2. From Cloud Messaging tab check the Firebase Cloud Messaging API (V1) where Sender Id is given, add that to Admin Panel in System Settings > Notification Setting.
1. In the Firebase console, go to Project Settings
2. Go to > General where Project Id is given add that to Admin Panel in System Settings > Notification Setting.

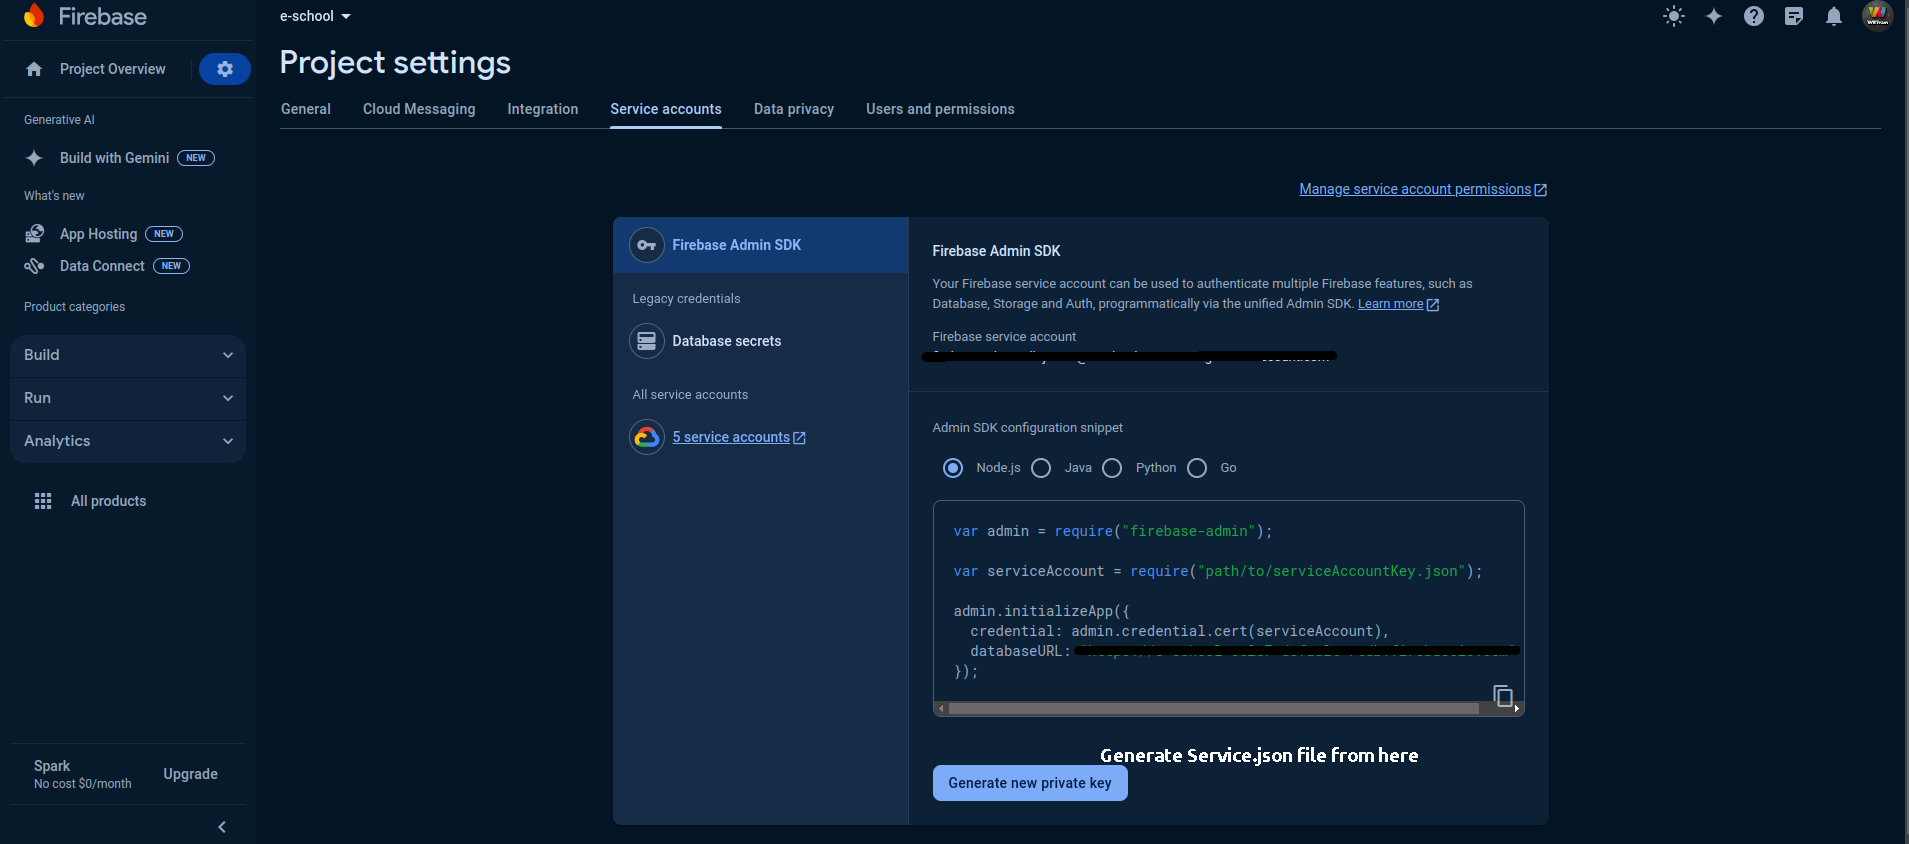
1. In the Firebase console, open Settings > Service Accounts.
2. Click Generate New Private Key, then confirm by clicking Generate Key.
3. Securely store the JSON file containing the key and upload in Admin Panel in System Settings > Notification Setting.
After updating or setting up the Notification settings,
Notifications can be send to All
Users at a time to their respective fcm-id's
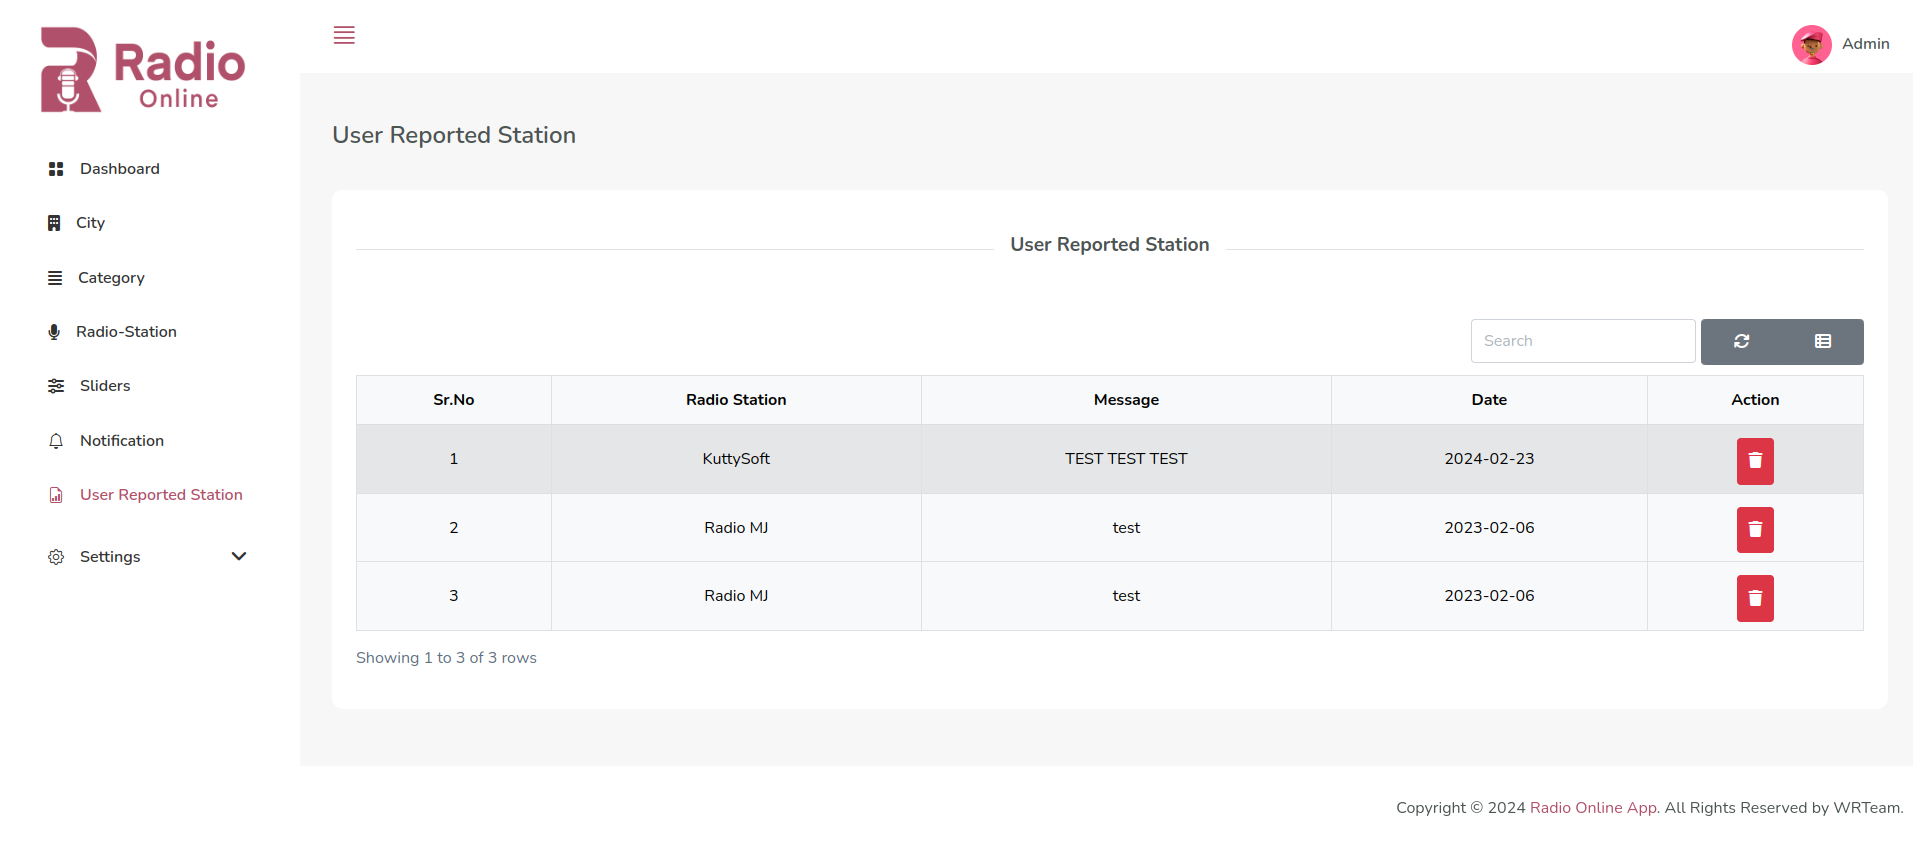
10. Radio Station Report
In side the Radio Station report section you will able to see all the radio station which are reported by the users.
From here you can easily delete that report just by clicking on delete Icon.
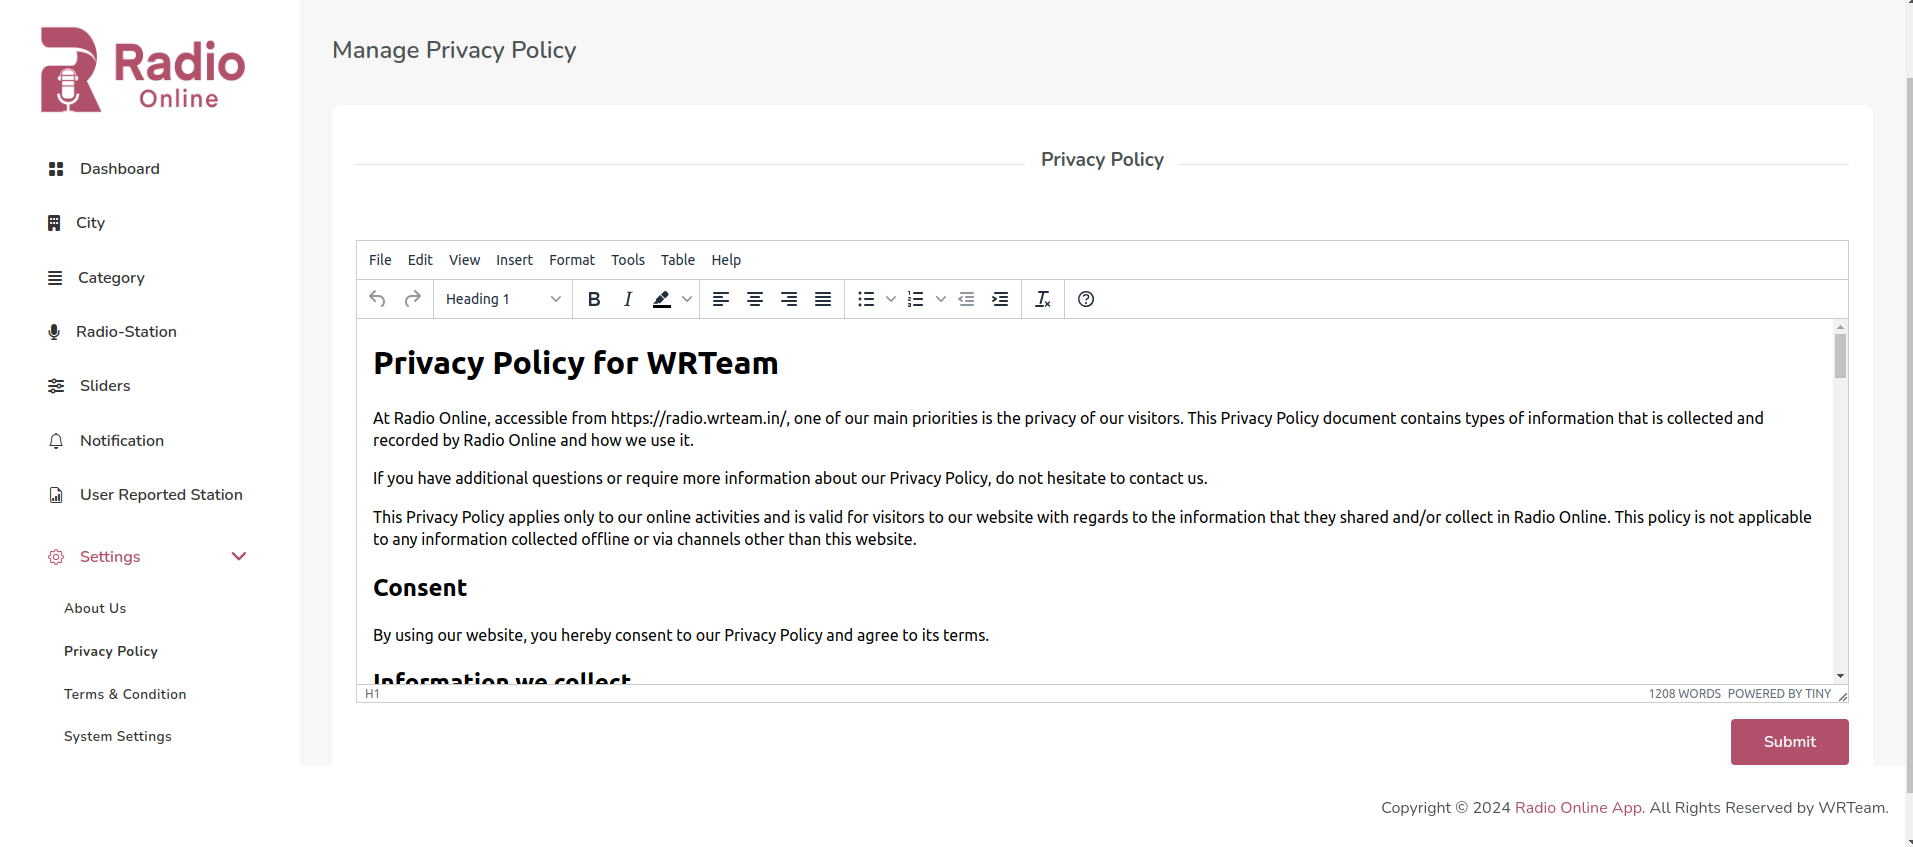
11. Set Privacy Policy
Set Privacy Policy for your website and app.
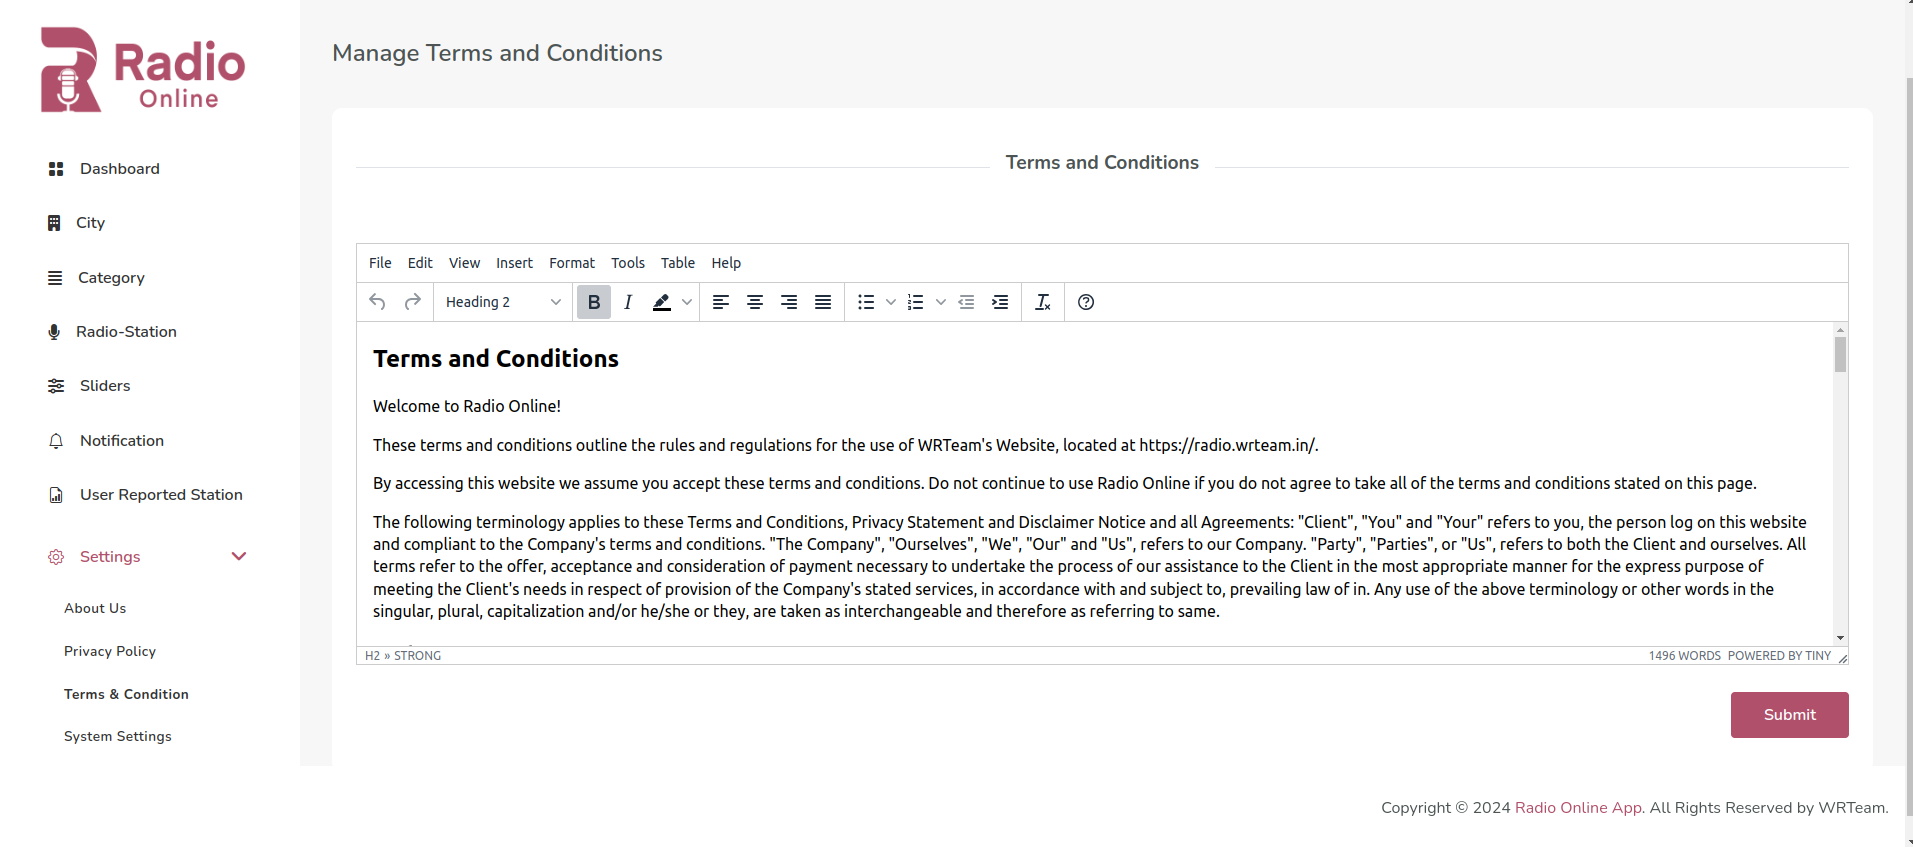
12. Set Terms Conditions
Set Terms Conditions for your website and app.
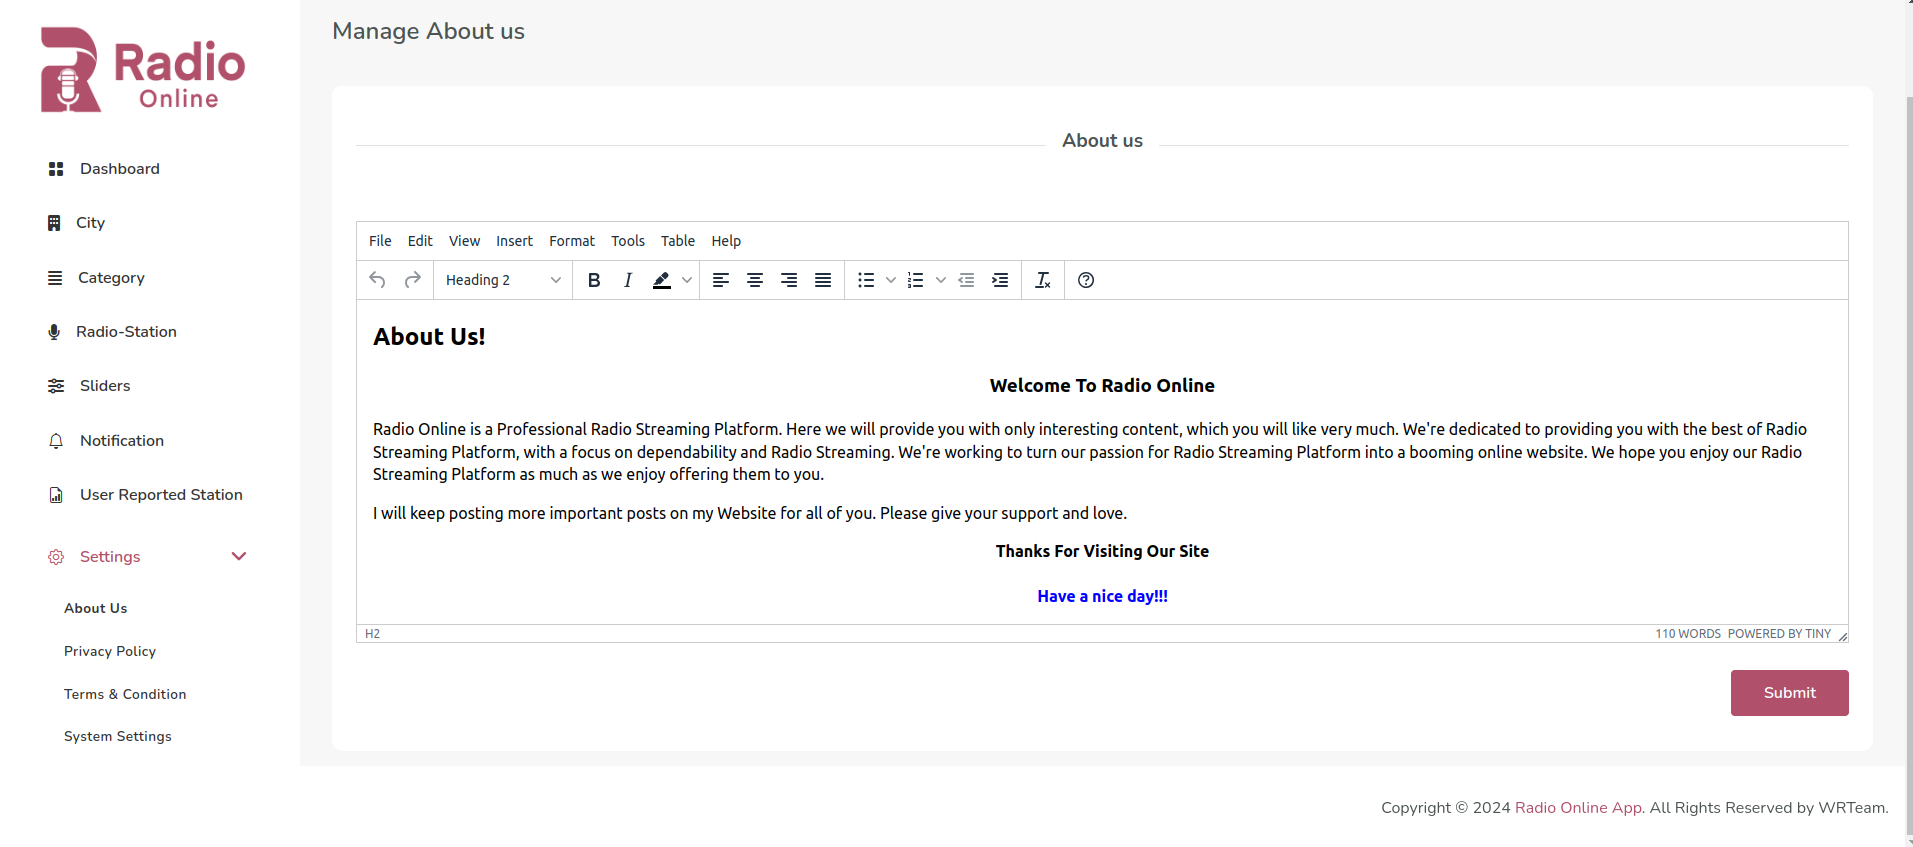
13. About Us Content
Set and manage your about us content for app.
Need Help?
Our dedicated support team is here to assist you! Feel free to reach out with any questions or concerns regarding our products.
Reach Us:
Skype: Purnima Bhattacharya
Support Hours:
Monday - Friday: 9:00 AM - 6:00 PM IST (GMT+5:30)
Typical Response Time:
We strive to respond to all inquiries within 24 hours.
Rating
We greatly value your appreciation and feedback. Your positive input regarding our product would be immensely valuable to us.
Taking just a brief 2-3 minutes of your time to review our product would be highly appreciated. To begin, kindly click on the link provided below:
Link: [Review Our Product] (https://codecanyon.net/downloads) 😊🌟